Hey there, pebble painters!
So, picture this: the air is crisp, the colors are popping, and nature’s giving us the most beautiful leaf show. Feeling inspired, I decided to paint another awesome autumn scene with all its vibrant colors on a simple rock canvas. We’re talking warm, cozy shades of red, orange, and yellow – capturing all those fall vibes!
As always, no need for fancy tools here—just grab your basics, add a sprinkle of imagination, and a heap of enthusiasm to capture the enchanting palette of autumn on your canvas, whether it’s a rock, a canvas, or any other cool surface you like. Join me for a fun and creative ride as we paint rocks to celebrate the beauty of the season.
Full Video: Autumn Anew Rock Painting
Check out this video for the full process. Once you got the gist, you can follow along written instructions with images—no more constant pausing!
Full Video: Autumn Anew Rock Painting Tutorial
Materials: Autumn Anew Rock Painting
Before we get going, ensure your art supplies are handy. We’ll work with acrylics and might need to mix colors fast. All set? Let’s jump in!
~This post contains affiliate links. I may earn a few cents, at no extra cost to you, if you buy from the link.
- Surface to paint(I used a small rock that I primed with white gesso. Mini canvas works great too)
- Acrylic paints (blue, white, red, yellow and black)
- Small or medium brush (I used a round brush, but any basic brush will work if you don’t have flat)
- Wet Palette (or plastic lid)
- Fancy paint brush cleaner (or a jar of water)
- Rag or paper towel
- Clear coat
Note:
Although these references can aid when you’re overwhelmed with numerous choices, don’t stress about the specifics. Just utilize whatever you already possess or can easily locate.
If you’re new to rock painting, take a look at my Rock Painting Beginners Guide.
Step 1: Priming the Rock with White Base
Let’s start priming the rock with white acrylic paint or gesso. This will set the stage for vibrant colors and ensure a smoother blending process for what’s to come.
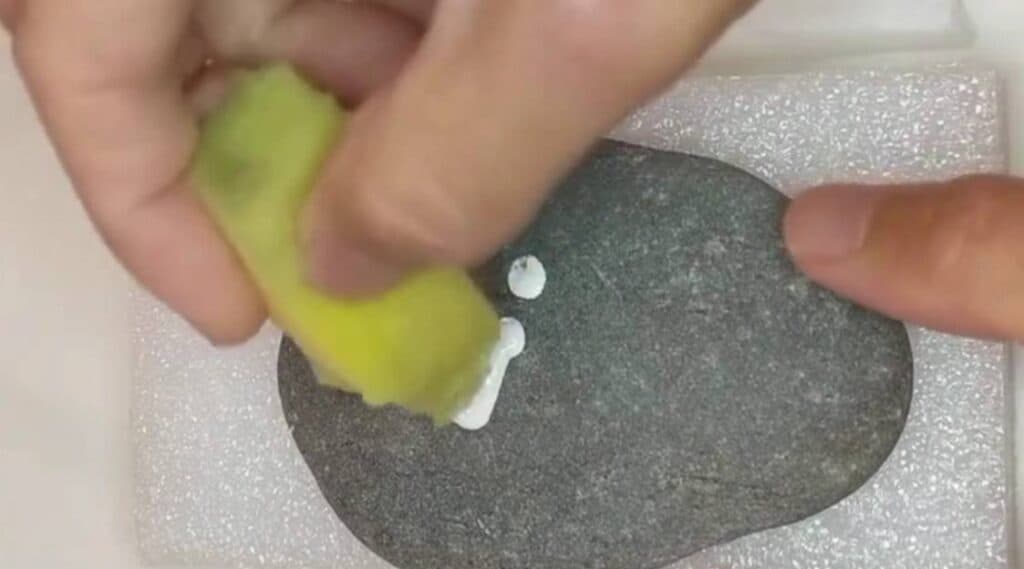
I prefer using a sponge for a more uniform application of gesso. Simply dab the sponge into the gesso and gently spread it across the rock surface. The even application ensures a smoother base for the upcoming colors to shine. However, if a sponge isn’t available, a brush works just as well. Apply the gesso or white acrylic paint using a brush, ensuring an even coat to prepare the canvas for the vibrant colors to follow.
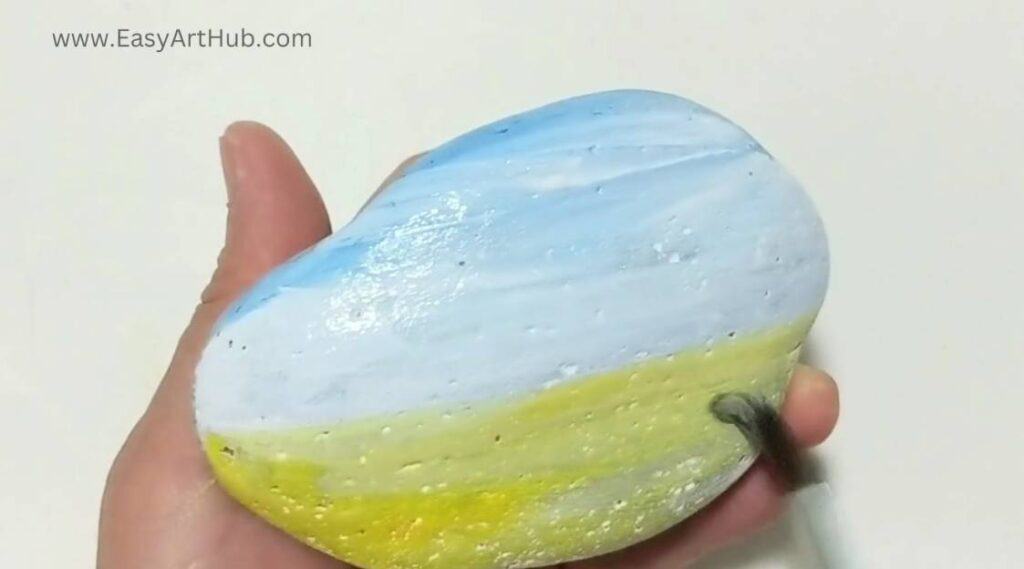
Step 2: Creating the Autumn Sky Gradient
Now, let’s picture that awesome autumn sky. Imagine standing there, looking up, and it’s like nature’s putting on its own color show.
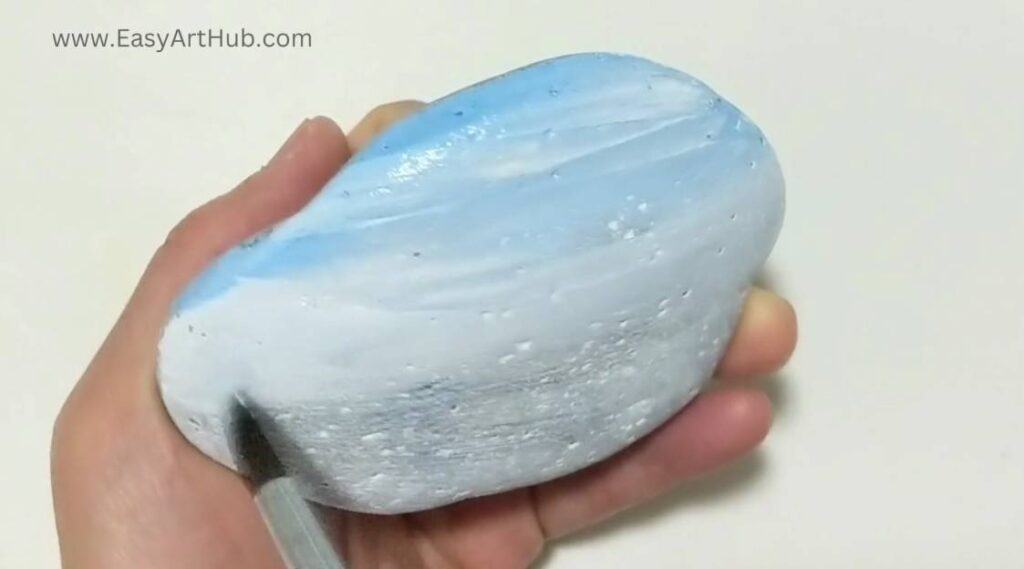
Begin by blending some blue at the top of your rock, gradually transitioning to lighter tones toward the middle. Add more white paint as needed. Remember not to over-blend to create depth and dimension in your sky.
Once you’ve got those blues just right, give your brush a good rinse and then pat it dry. We want it nice and clean for what’s coming next.
Step 3: Crafting the Green Background
Time to work on the ground! Imagine you’re starting to paint the base, the very earthy part of your scene.
Apply yellow paint to the middle portion of the rock brush all the way down to the bottom.
Gradually introduce a touch of blue to create green. Gradually blend these colors to create a seamless transition from yellow to blue green.
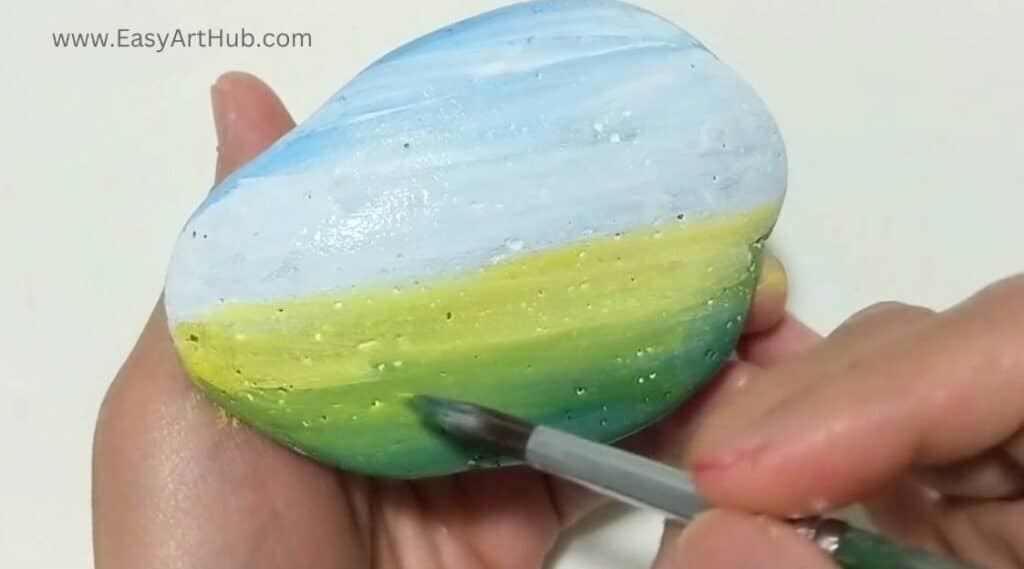
Take a step back and see how your colors are flowing together. This is your base, the groundwork for the masterpiece you’re creating on your rock.
Step 4: Adding Texture with Layers of Grass
Time to jazz up that ground with some cool textures!
So, grab your palette and mix up a fresh green. Just a little bit of yellow, a dash of blue—get that combo just right. That’s your ticket to the perfect grassy shade.
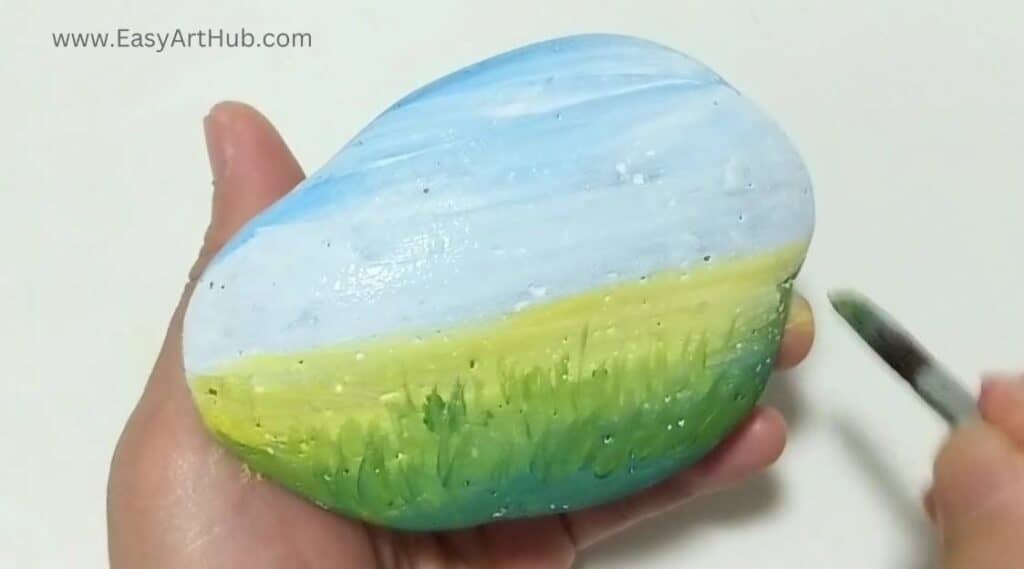
Using the tip of your brush with green, paint the layers of grass, experimenting with strokes to create depth and character. Play around with your strokes, try different techniques, make it look alive. We want depth and character here, not just a plain ol’ lawn.
Feeling fancy? Add a tad more blue here and there. Mix things up a bit to give your grass some attitude. This variation in tones is going to make your ground pop! So, keep experimenting until you’ve got that texture just the way you like it.
Once you’re done with those strokes, make sure to give your brush a good rinse. You want a clean brush for the next step.
Step 5: Sketching Tree Branches
It’s time to sketch out the tree.
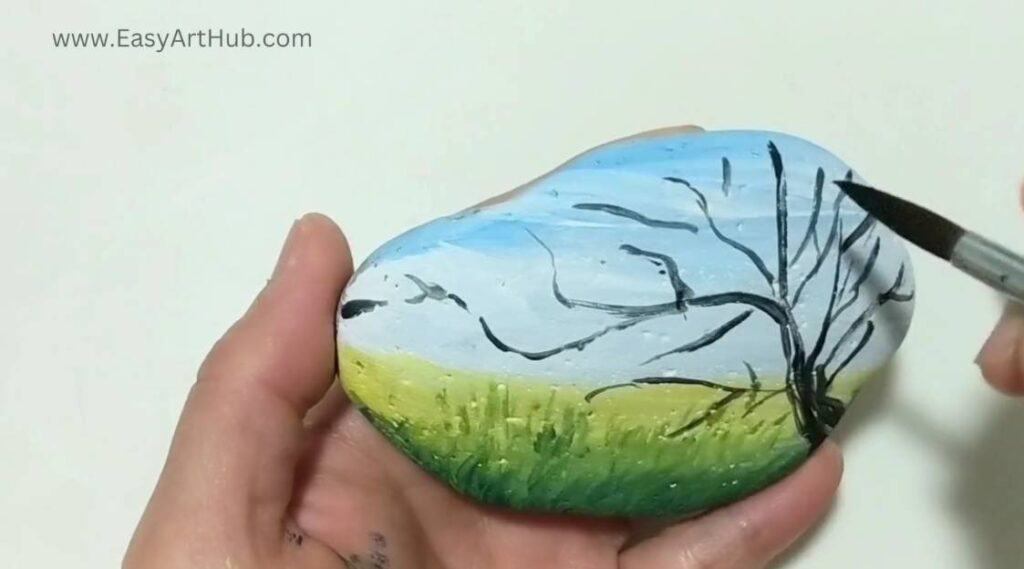
Grab some black paint using the tip of your brush. Start with a strong, sturdy trunk – the tree’s foundation. Extend those branches out, keeping it all natural and textured. Remember, it doesn’t have to be perfect; a lot of these lines will be covered up by leaves anyway.
Once you’re done with your tree sketch, take a moment to give your brush a good rinse. Make sure it’s squeaky clean, and then wipe it dry. We want it prepped for what’s coming next.
And hey, let that black paint dry before moving on to the next step. This will give your tree sketch the chance to set in and be ready for the colors that will bring it to life. Take a breather, enjoy the progress, and get set for the next exciting part!
If you find it hard to use round brush to paint thin lines, heres some tips:
First, dampen your brush and shape the tip into a point by gently swiping it on a rag.
Next up, dip the brush tip in paint and then in water to thin the paint just a bit.
Before you start your masterpiece, give a few light brush strokes on paper or a rag to get rid of any extra water and paint.
Getting those lines might need a bit of practice, so don’t rush it. Take your time and enjoy the process!
Step 6: Painting Vibrant Autumn Foliage
This is the showstopper – the vibrant foliage.
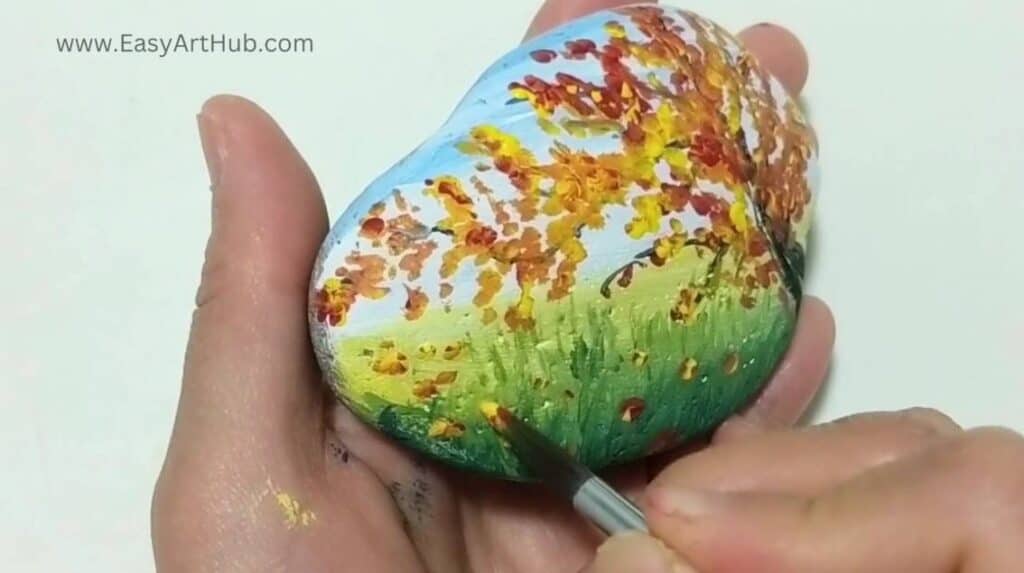
Dab yellow paint onto the branches for the base of the leaves. Without rinsing your brush, layer each dab with red paint. The blend of red and yellow will naturally form shades of orange, giving a rich, varied appearance to the foliage.
Don’t forget to sprinkle a few of those leaves onto the ground. Because, you know, that’s what fall is all about – those vibrant leaves covering the earth. It adds that extra touch of autumn magic to your scene.
Now, while you’re painting, don’t be afraid to experiment. Play with the brushstrokes, adjust the pressure, and layer those colors. This is where the foliage gets its depth and beauty, so take your time and enjoy the process.
This step is what really makes your autumn scene come alive, so savor the creative moment. And hey, if you need to take a break and let those colors dry a bit before moving on, go for it. It’s all about enjoying the journey and creating something truly special!
Final Words
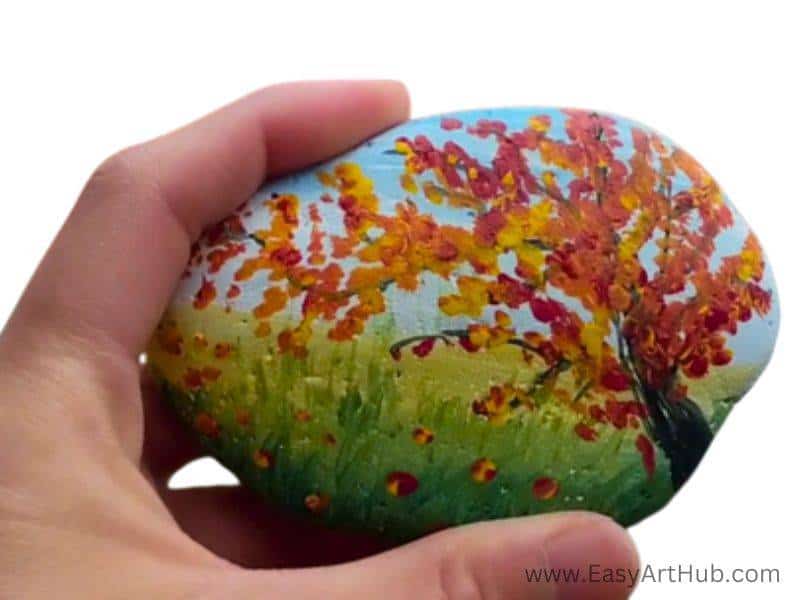
So, there you have it, folks! Embrace the season by transforming simple rocks into vibrant canvases that capture the very essence of autumn. With just a brush, a few basic paints, and a touch of imagination, you’ve painted a picturesque fall scene that bursts with warmth and color. Each stroke tells a story of the season, from the gradient sky to the textured grass and the vivid foliage.
Remember, there’s no right or wrong way—just let your creativity flow. Take a moment to admire your work, revel in the joy of creation, and appreciate the beauty you’ve brought to life on these humble stones. Here’s to celebrating the wonders of autumn through this mini art adventure!