Get set for an absolute blast this Halloween! Whether you’re an art whiz or a casual doodler, snag your supplies, and let’s plunge into this delightfully eerie masterpiece together.
This Spooky Halloween Pumpkins Rock Painting Tutorial will walk you through the process. It includes instructions and pictures every step of the way. But hey, if reading isn’t your jam (no judgment here), I’ve got a full video tutorial waiting for you at the end of this post. So, grab your art supplies, and let’s get those jack-o’-lanterns rockin’.
Materials You’ll Need:
Before we dive headfirst into the thrilling part, let’s make sure you’re armed with the right tools – this is especially crucial because acrylics dry quickly, and in this tutorial, we’ll be blending directly on the surface (no palette involved), so having everything at hand is essential!
~This post contains affiliate links
- Primed rock (apply a layer of white acrylic paint or gesso)
- Pencil or watercolor pencil *optional(use if you prefer to sketch first)
- Acrylic paints (red, yellow, black, and white)
- Medium round brush
- Foam brush or sponge(a strip of dish sponge or makeup sponge)
- Jar of water
- Rag or paper towel
- Blow dryer *optional (use if you are in a hurry)
- Clear Coat
*If you’re new to the rock painting scene, you might want to check out my Rock Painting Beginners Guide. It’s got the scoop on choosing your materials and all the basics you need to kick things off.
Step-by-Step Instructions:
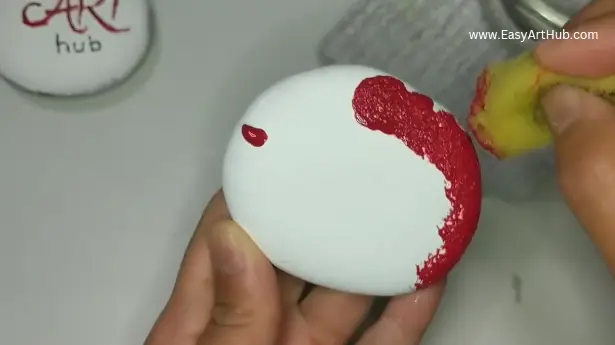
1. Apply the Background
Begin by applying a few drops of red paint to the sides of the rock and gently dab it around using the sponge.
Next, add a drop or two of yellow paint in the center and intermittently dab it, allowing it to blend with the red paint.
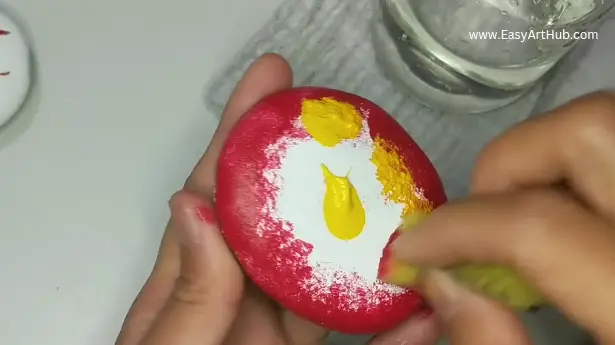
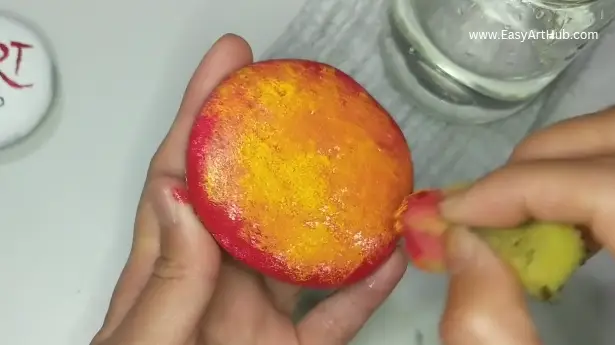
Continue this process until the rock is covered with a pleasing gradient of red, orange, and yellow. You may need to adjust the amount of yellow or red paint to achieve the desired background color.
2. Paint the Pumpkins
Now it’s time to add your design. To do this we start by sketching. If the background is dry, you can use a pencil for this step.
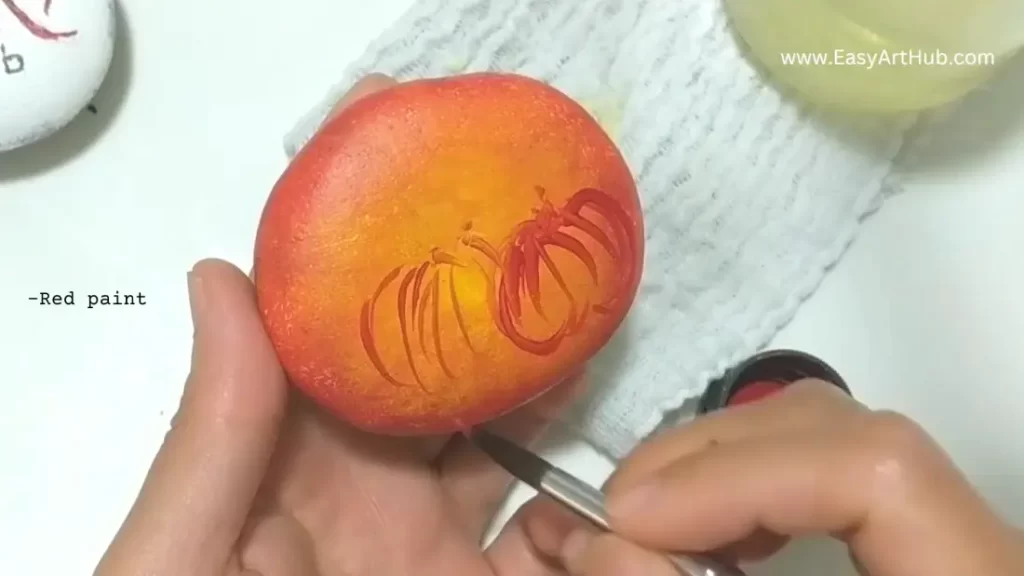
Alternatively, you can directly draw the pumpkin using paint, even while the background is still wet. That’s what I did because I was so excited.
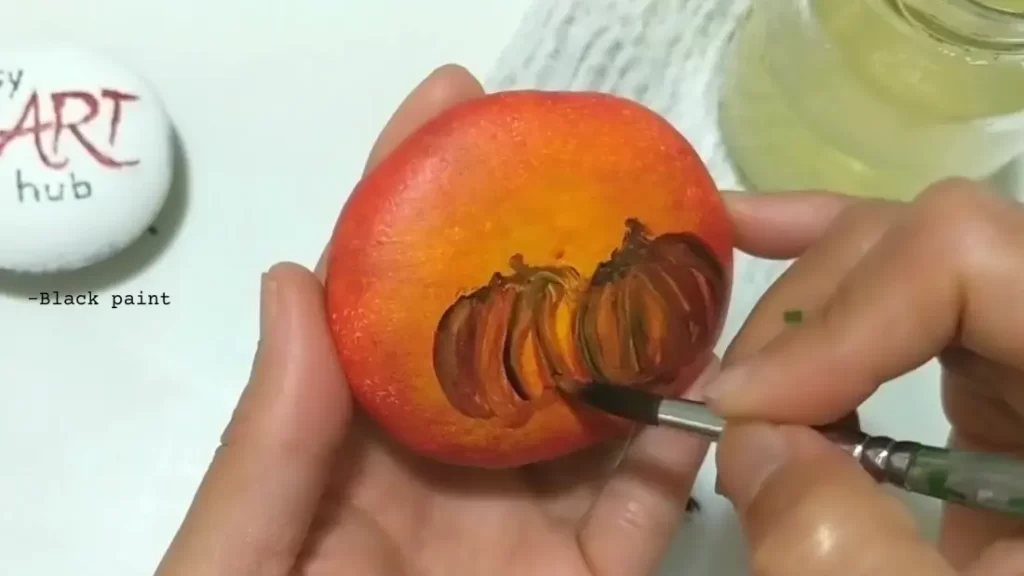
In this tutorial, I used the tip of my brush with red paint. I began by outlining the pumpkin and then added the ribs. To give the pumpkin a brown appearance, I traced it with a bit of black paint and partially blended the red, black, and background colors together to create brown.
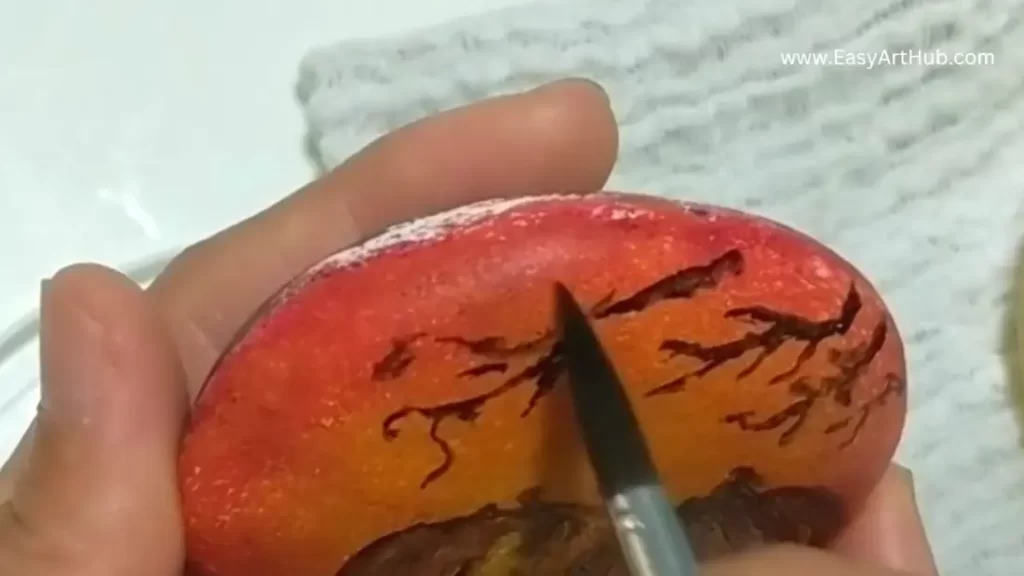
3. Add the Branches
While waiting for the pumpkin to dry, you can add the spooky branches.
Using the same brush, which still has black paint, add the branches. You can make them appear spooky by creating crooked lines.
Rinse and wipe the brush dry.
TIP: As the paint dries on the brush, it tends to create thicker or frayed brush lines. If you prefer thinner lines, you can rinse the brush, wipe it dry, and reshape the pointy tip before reapplying the black paint. Also, make sure to use just the tip of the brush for thinner lines.
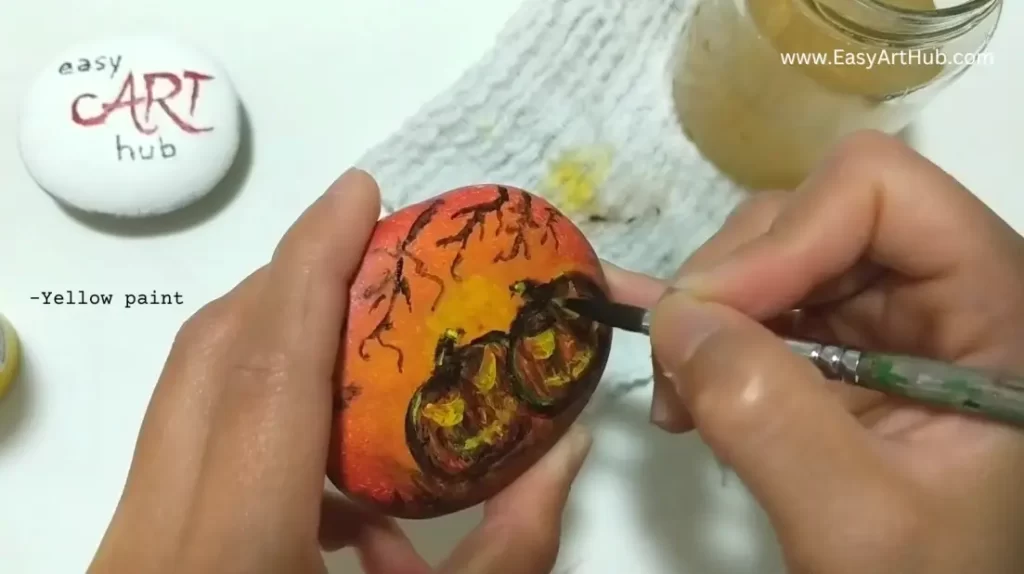
4. Add Glaring Eyes and Mouth
For the glaring pumpkin eyes, you’ll need two paint colors: yellow and red. Start by applying yellow paint to the entire eye.
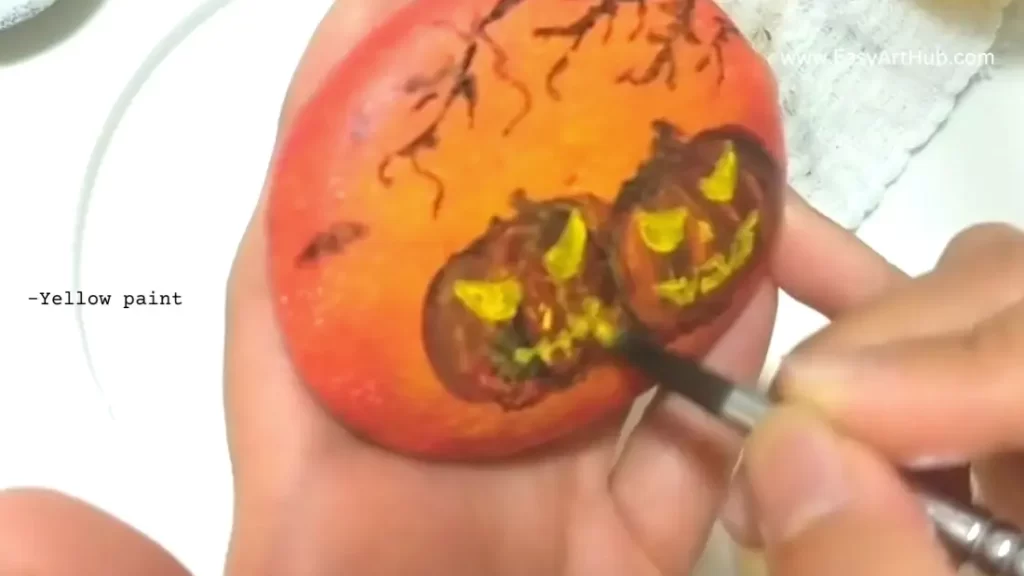
Then, add a tiny dot of red paint in one corner.
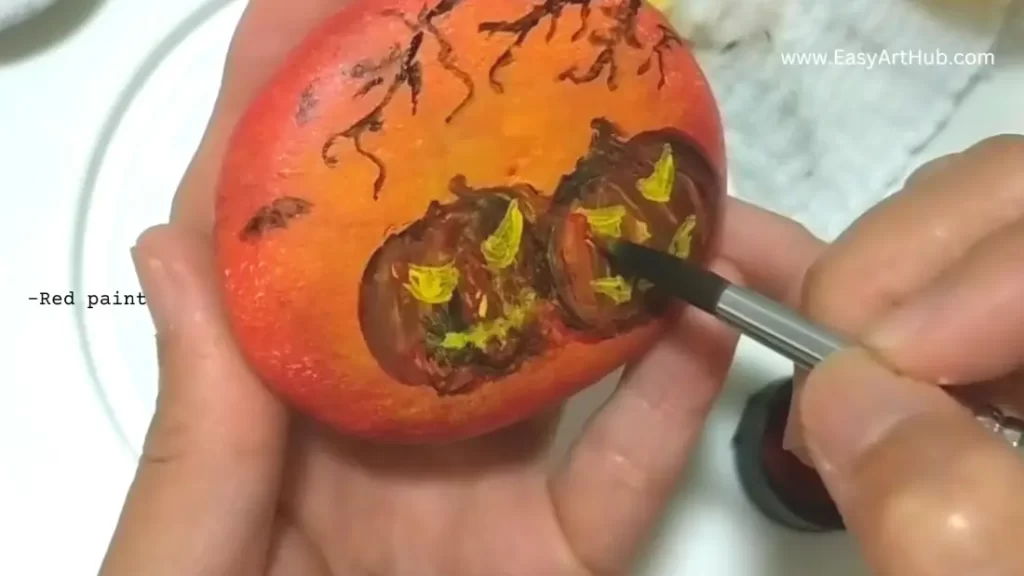
And blend it with the yellow to create orange in that corner. Ensure that most of the eye remains yellow. Don’t forget to add a dot for the nose.

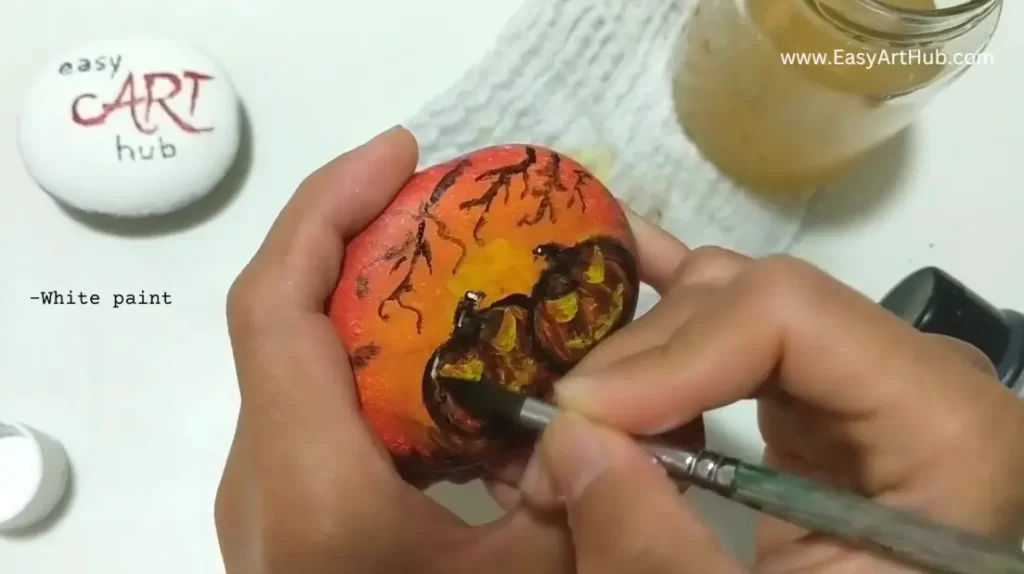
5. Add the Highlights
Use white paint and yellow paint to add highlights. Imagine the light is coming from the left, so the highlights will be on the left side of the pumpkins.
Rinse and wipe your brush dry.
Allow the paint to completely dry. Mine took 2 days, just to be sure.
6. Seal the Painting
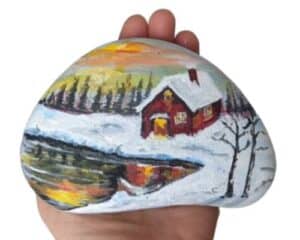
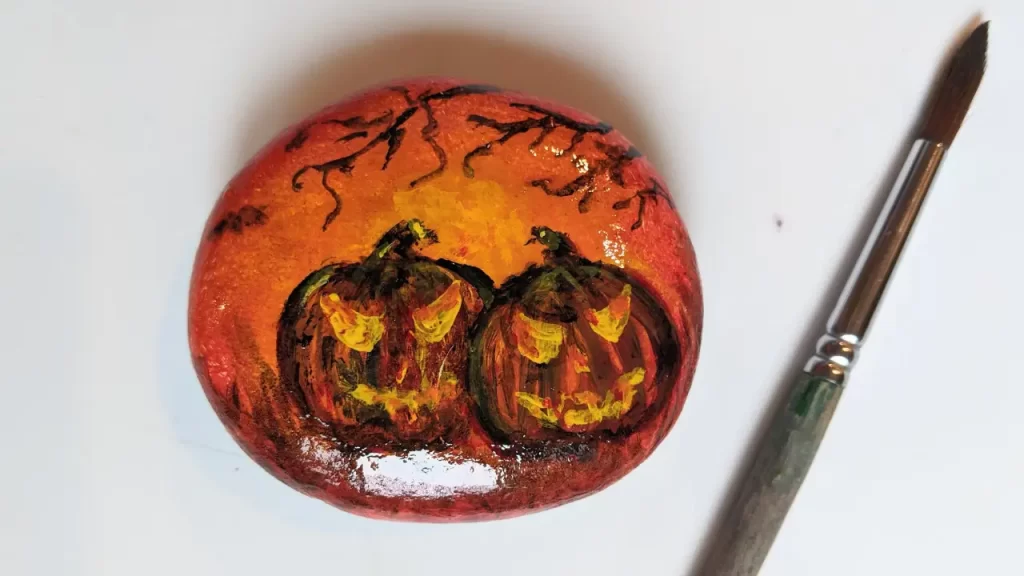
Once your painting is completely dry, you can finally seal your masterpiece. This step is necessary if you plan to display your rock outdoors. You can use your clear coat of choice to seal your Halloween masterpiece.
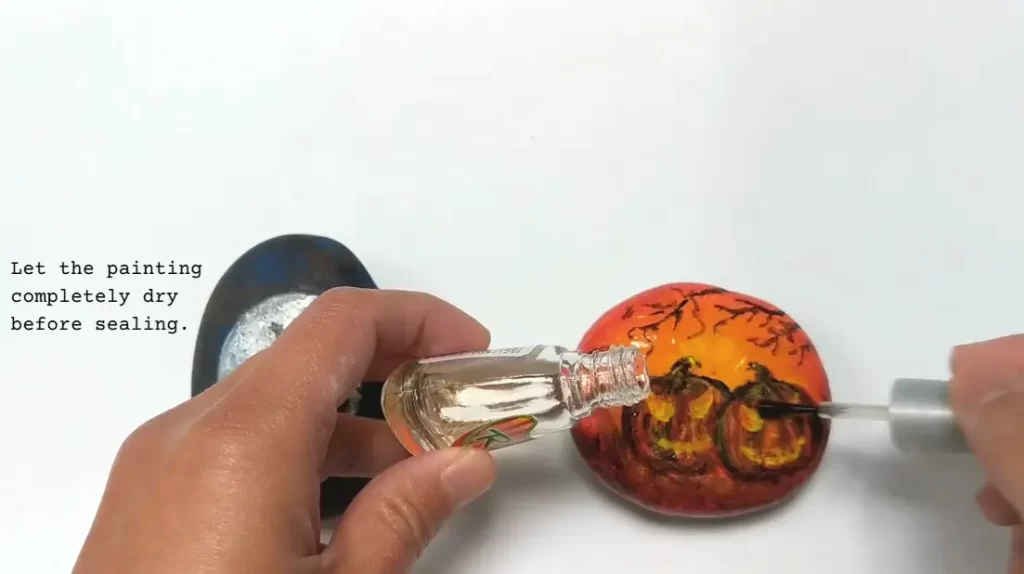
Tip: If you plan to take pictures of your rock, you may want to do so before sealing it to avoid glare from the shiny coat. Although I always love how the colors pop after sealing, it’s difficult to avoid the glare, as you can see in the picture.
Video Tutorial
The Video Tutorial as promised. If you prefer a more visual guide, seat back and enjoy!
Behold Your Spooktacular Creation!
And now, the moment you’ve been waiting for—reveal your hauntingly delightful masterpiece to the world. Display it proudly in your home, garden, or anywhere that needs a touch of Halloween magic. Watch as your friends and family are enchanted by your artistic skills and your newfound ability to turn a rock into a spooktacular pumpkin canvas!
And if you want more Halloween rock painting inspiration, don’t miss my other Halloween rock painting tutorial. Get creative, spread the Halloween spirit, and have a spooktacular time! 📽️🎨