
As summer’s vibrant hues gracefully transition into the serenity of autumn, why not embrace the season through the wonderful world of painting?
I’ve put together a step-by-step tutorial to help you create a Serene Autumn Landscape Painting. You’ve got options! There’s a full video for those who prefer to watch, and if you’re more into written guidance with images, I’ve got that covered too. No need to constantly hit pause and play!
The best part? You don’t need any fancy art equipment – just grab your basics, let your imagination run wild, and let’s capture the enchantment of a Serene Autumn on your chosen canvas (I went with a rock for mine). Ready to dive into some creative fun?
Full Video: Serene Autumn Rock Painting
In this video, I’ll take you through the entire process of painting a Serene Autumn masterpiece. Enjoy!
Materials for Serene Autumn Rock Painting
Before we start, make sure your art supplies are within reach. We’ll be using acrylics and may need to mix colors quickly. Ready to begin? Let’s dive in!
~This post contains affiliate links. I may earn a few cents, at no extra cost to you, if you buy from the link.
- Surface to paint(I used a small rock that I primed with white gesso. Mini canvas works great too)
- Acrylic paints (blue, white, red, yellow and black)
- Small or medium brush (I used a round brush, but any basic brush will work if you don’t have flat)
- Wet Palette (or plastic lid)
- Fancy paint brush cleaner (or a jar of water)
- Rag or paper towel
- Clear coat
Tips
- While these links can be helpful when you’re faced with too many options, don’t fret over the details. Simply make use of whatever you already have or can readily find.
- New to rock painting? Check out my Rock Painting Beginners Guide.
Step By Step Tutorial: Serene Autumn Rock Painting
Step 1: Dreamy Blue Sky and Water
Create a dreamy, foggy background for your autumn scene by blending a soft, bluish sky and calm water.
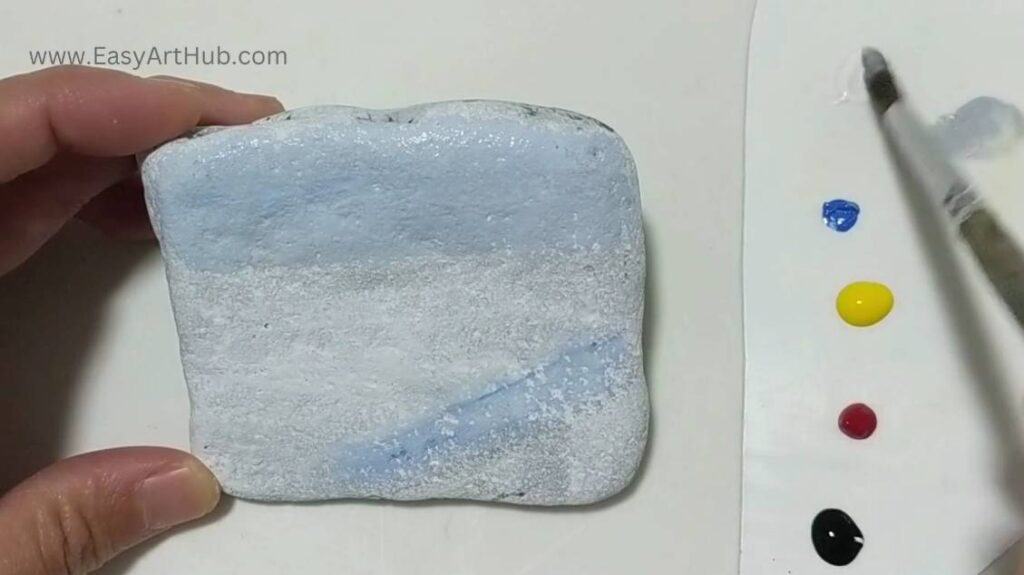
Begin by mixing white paint with a touch of black on your palette. Add a small amount of water to create a smooth, fluid consistency.
Apply this mixture to the upper part of your canvas to paint the foggy sky. To give the sky a bluish tint, gradually blend in a bit of blue paint. Continue blending and adding paint until you achieve a soft, misty appearance.
Using the same blending technique and a brush loaded with the same paint mixture, draw a diagonal line at the bottom left of the canvas. This will represent the water’s edge. Add more paint as needed and blend.
Step 2: Colorful Ground
Next we will bring the vibrant colors of autumn using yellow and red paint.
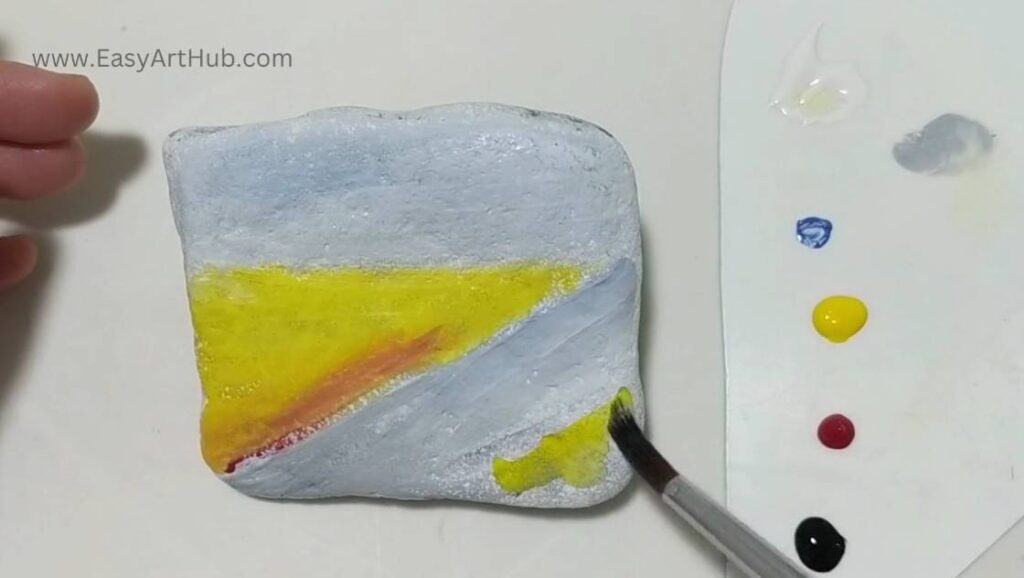
Paint the ground with yellow, starting from the horizon towards the stream. Blend in some red near the water where the near trees will be painted later.
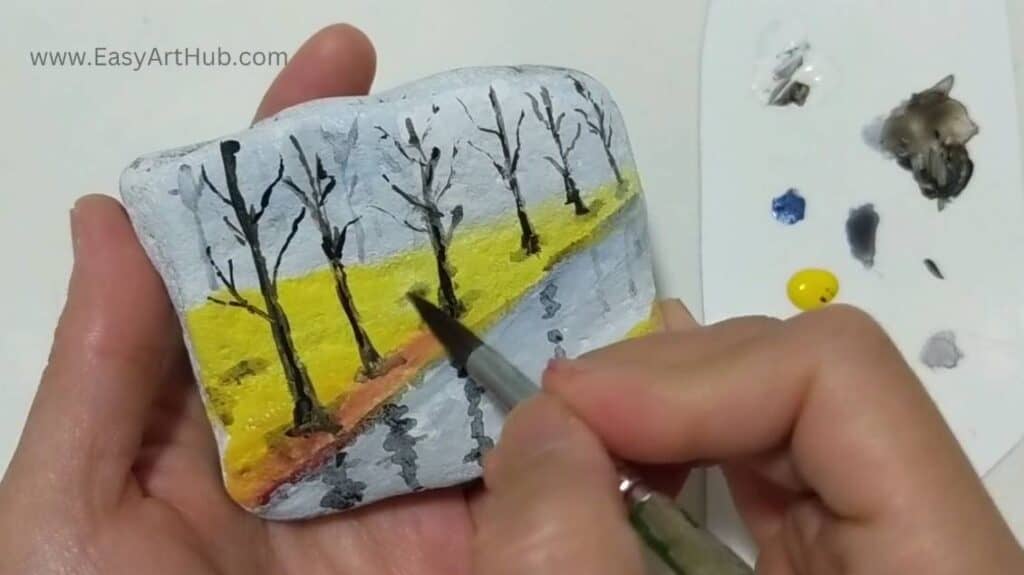
Step 3: Bare Autumn Trees
Define the trees in your landscape, using varying shades and techniques to create depth and distance.
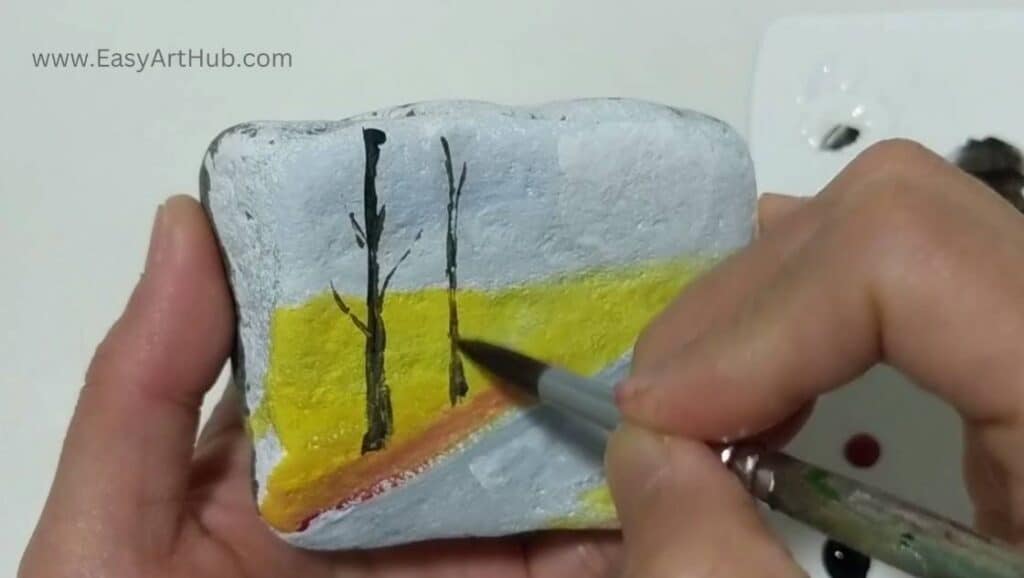
For the trees that are closest to you, use a pure black paint. This will make them appear more solid and prominent in the foreground.

To create the illusion of distant trees, use a mix of black, white, and water. This will give the trees a hazy, distant look.
Pro Tips (How to make fine lines)
- Use the tip of your brush for precision when adding fine lines for tree trunks and branches.
- Shape the brush by gently brushing it on the rag, ensuring it’s in optimal condition for creating those fine, artistic details.
- Be mindful not to use too much water to maintain control over your paint.
- If your brush becomes overly saturated, blot it gently on a rag to regulate the moisture level.
- Apply very light strokes for delicate and detailed lines.
Step 4: Nature’s Mirror and Shadows
Capture the reflection of trees and sky on the water’s surface to enhance the realism of your scene.
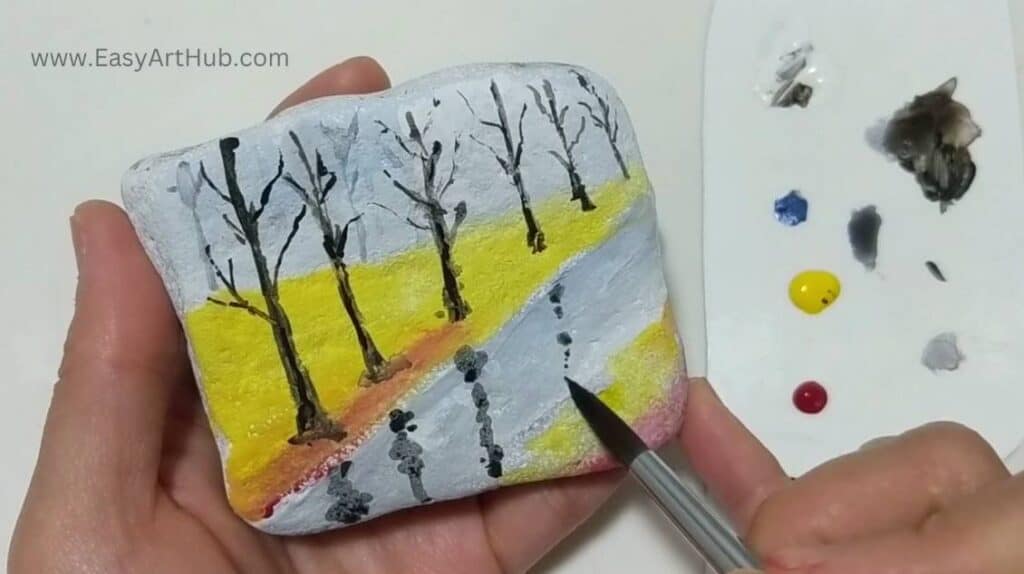
Dilute black paint with water to create a slightly translucent mixture.
Carefully apply this mixture to the canvas to represent the reflection of the trees and the sky in the water. Remember, reflections are usually slightly lighter than the objects themselves.
Use the same brush, still loaded with diluted black paint, to add some shadows on the ground. This helps anchor the trees and leaves in the scene.
Step 5: Detailing the Tranquil Waters
Add subtle details on the water to create a more realistic water surface.
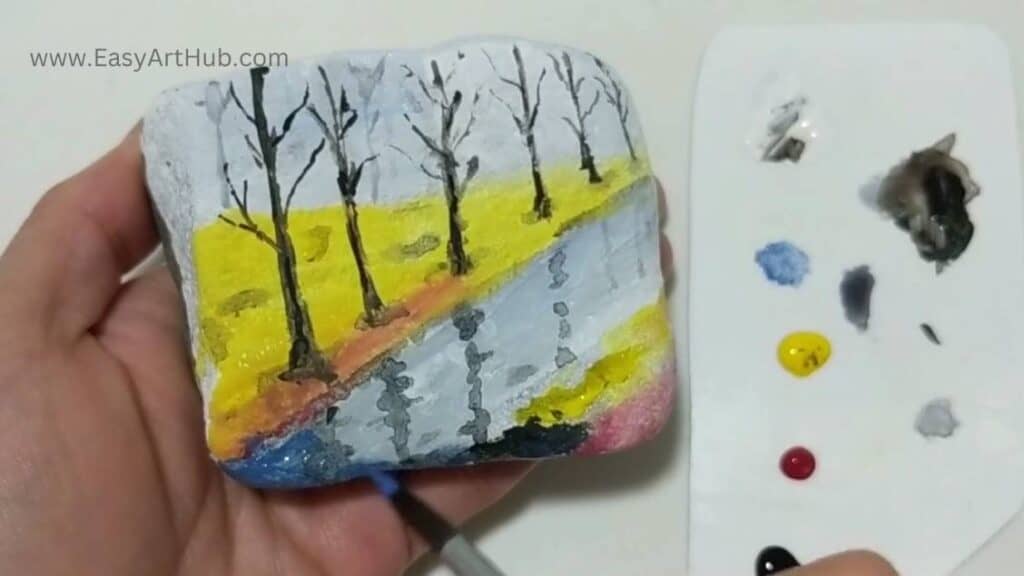
To add details to the water, use blue paint. With a gentle stroke, create ripples or subtle reflections in the water surface to add depth and realism.
Step 6: Leaves Ablaze
Accentuate the fall foliage with a combination of red and yellow leaves, both on the ground and in the tree branches.

Apply some red paint to the pile of leaves on the ground. Partially blend in yellow paint to create orange spots. Don’t worry about precision at this stage; the goal is to create a random, natural distribution of leaves.
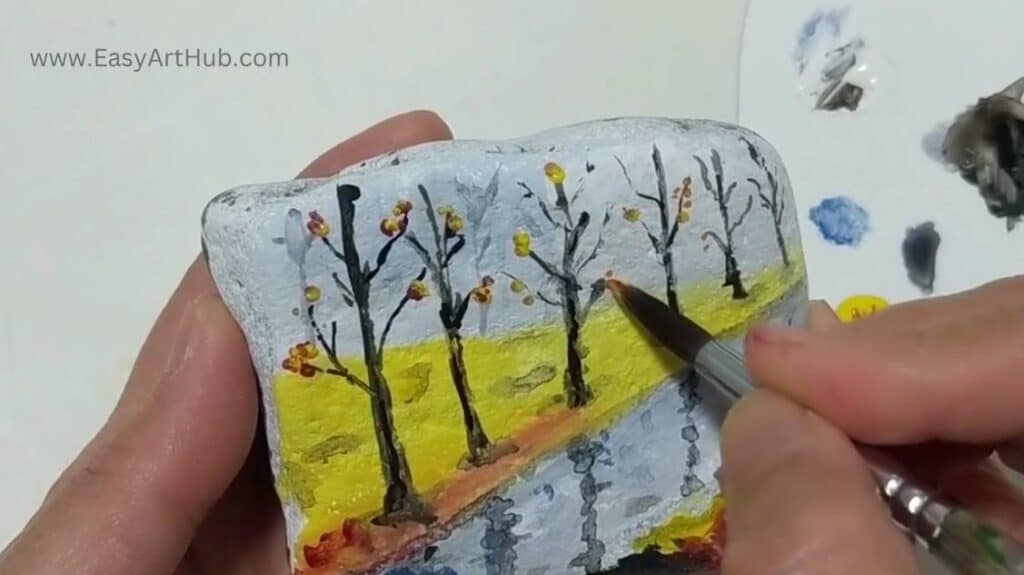
Use the same brush to dab red paint for the leaves on the tree branches. Top these with yellow to create a beautiful contrast.
Add more yellow and red to the ground as needed to emphasize the carpet of fallen leaves.
Rinse and wipe your brush.
Step 7: Scenic Haze
Enhance the distant trees and background foliage, enveloped in the fog of the autumn day.
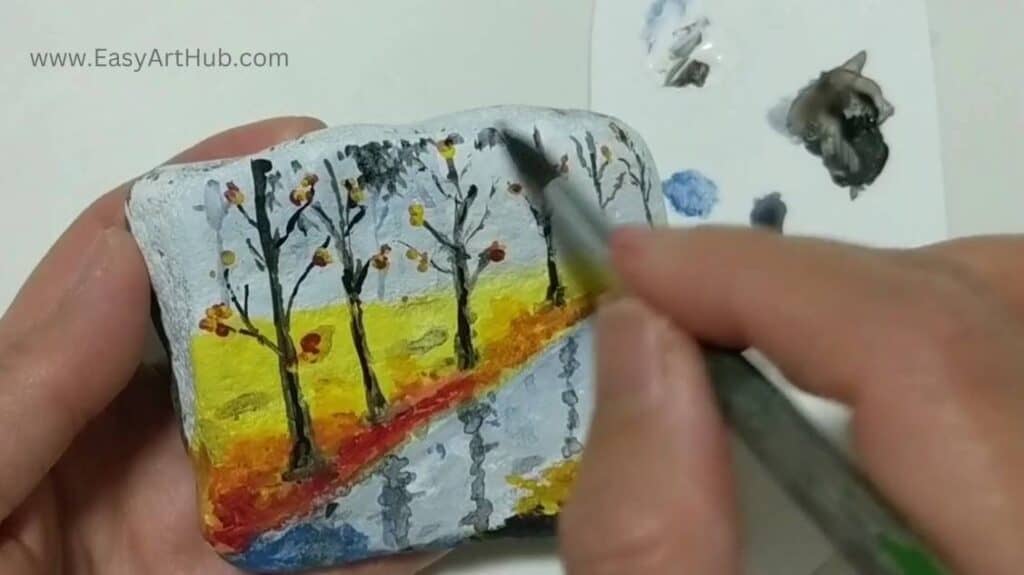
Use diluted black paint to add more foliage in the background. These distant trees should appear faint and blurred due to the fog.
Pro Tip:
If some of the background trees appear darker than desired, let them dry and then apply a very thin layer of white paint to make them more translucent. (This is what I need to do in Step 8, because the faraway foliage looks dark.)
Step 8. Adding Foreground Flair and Fine-Tuning
In this step, we will focus on the foreground elements of your autumn landscape to add depth and fine-tune the details.
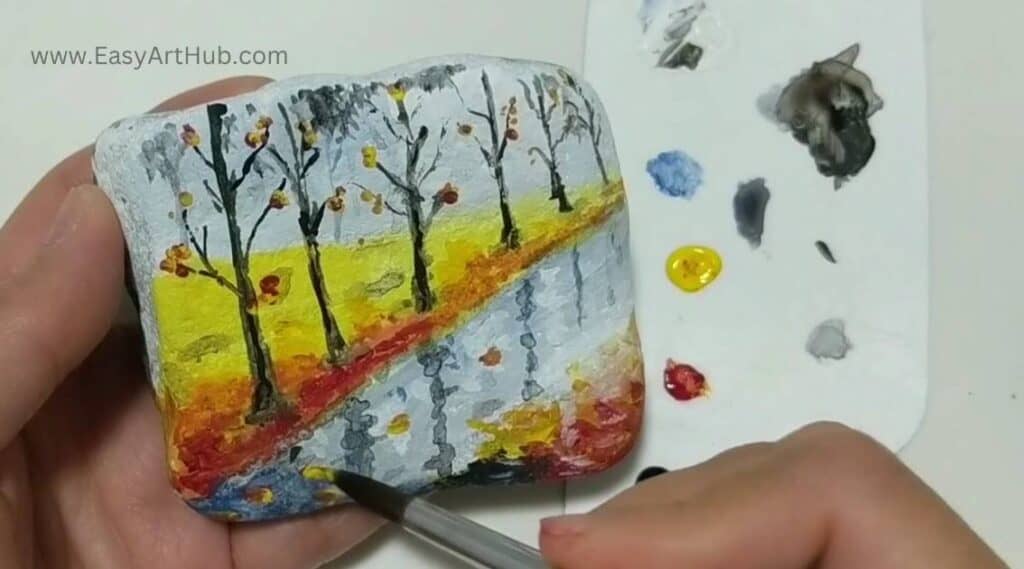
To enrich the scene, introduce leaves into the water using a blend of yellow and red, creating a lively, autumnal touch.
Further enhance the water by introducing highlights with the gentle touch of white paint, producing a play of light and reflection.
As mentioned earlier, if the background trees appear too dark, lightly apply a subtle layer of white paint to them to create a more delicate and distant appearance. This step is essential to maintain the atmospheric perspective of your painting.
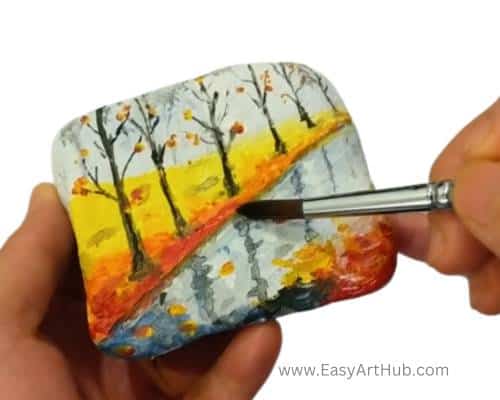
Remember, the key to this painting is to maintain the balance between adding intricate details to the foreground and keeping the distant elements hazy to create depth and a sense of space. Take your time, be patient, and enjoy the creative process as you refine your autumn landscape painting into a masterpiece. Happy painting!