
Another creative venture awaits! ‘Tis the season for crafting your unique Christmas-themed masterpiece, adding to our lineup of exciting holiday projects.
In this step-by-step guide, I’ll walk you through the process of painting a serene winter landscape with a cozy red house and a beautifully adorned Christmas tree. So, grab your rock and art supplies, roll up your sleeves, and let’s delve into the joyful world of acrylic painting!
Full Video: Winter Wonderland Painting Tutorial
You Will Need:
Before we dive in, just make sure your art supplies are easy to grab. We’re gonna work with acrylics, and we might need to mix colors in a jiffy. Ready to go? Let’s do this!
~This post contains affiliate links.
- Surface to paint (I used a small rock that I primed with white acrylic paint, mini canvas works great too)
- Acrylic paints (blue, white, yellow, red and black)
- Small or medium brush (I used a flat brush, but any basic brush will work if you don’t have flat)
- Jar of water or a fancy paint brush cleaner
- Rag or paper towel
- Clear coat
- Stick or brush (optional, for splattering)
Tips
- Don’t stress over the details; use what you have.
- New to rock painting? Check out my Rock Painting Beginners Guide.
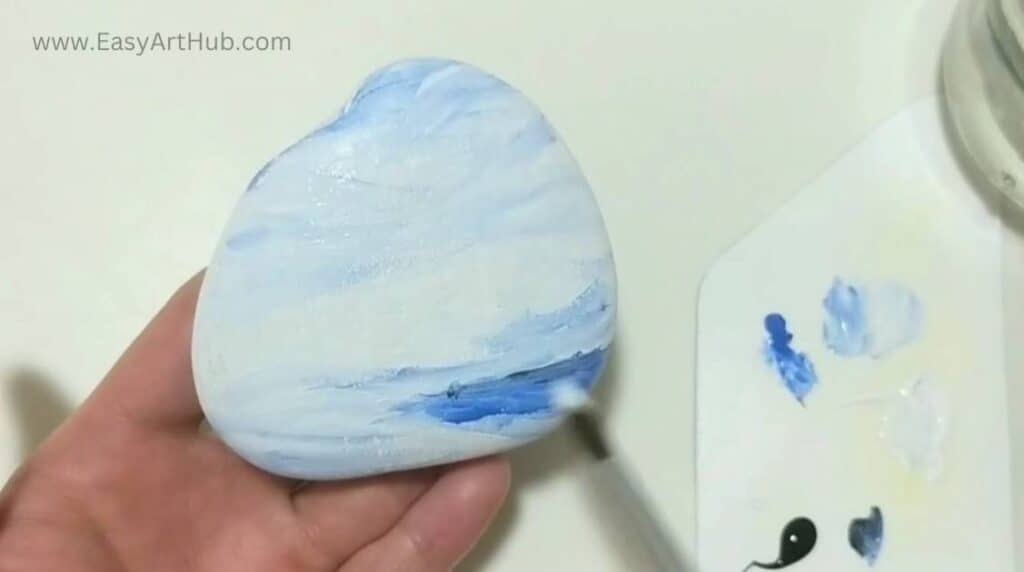
Step 1. Crafting a Tranquil Bluish Backdrop
Begin by creating the backdrop of a serene winter scene. Mix blue and white paint to form a bluish sky and snowy ground. Use this mix to add streaks, laying the foundation for your white Christmas scene.

As you’re painting the sky and ground, consider using varying brushstrokes and pressures to achieve depth and texture. Blend the colors to give the illusion of a wintry landscape.
Additionally, with your blue paint and some black paint, sketch the shadowy areas where the Christmas tree will later stand. Use the same paint for the next step.
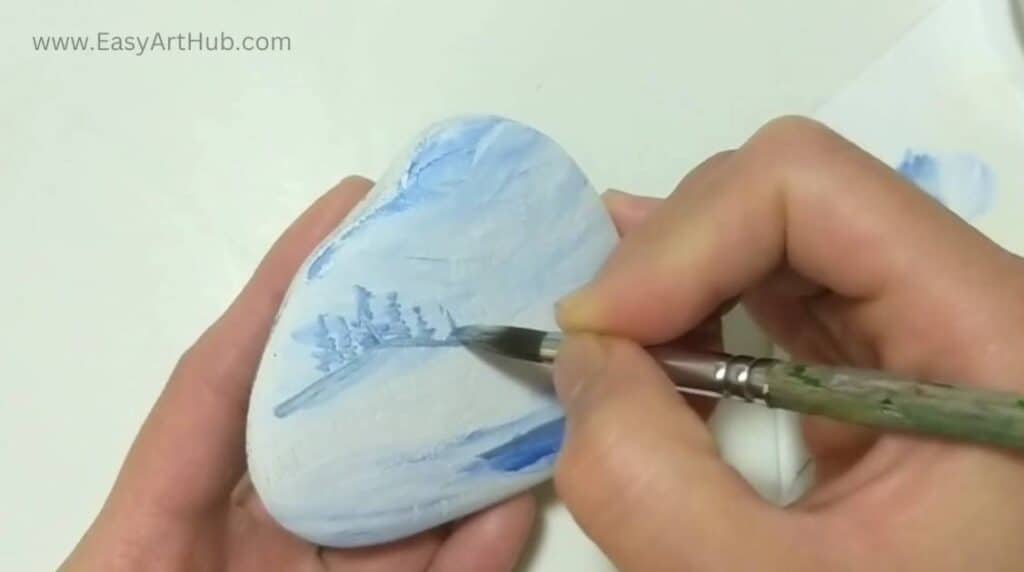
Step 2. Creating Distant Forest
For this step, concentrate on creating distant pine trees that serve as a backdrop for the focal point of the painting.
Dilute the paint(mix of white, blue, and black) on your brush with some water to create a subdued, distant appearance. Begin by painting a hill in the middle of your canvas, and then, using the tip of your brush, add tiny pine trees across the hill. Remember, the more distant the trees, the duller and smaller they should appear, indicating depth and distance within your landscape.
Make sure to vary the heights and shapes of the trees to create a realistic, forest-like appearance. Utilize the tip of your brush to carefully depict the silhouette of these trees against the wintry background, using light, feathery strokes.
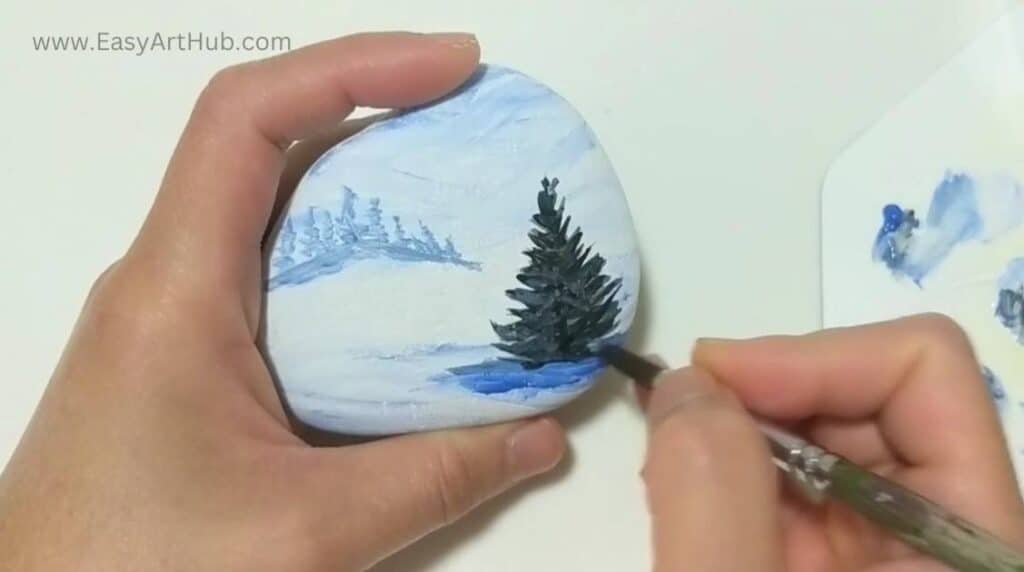
Step 3. Christmas Tree
To create the central focus of your painting, the Christmas tree, use black paint slightly diluted with water. Start by sketching the basic structure of the tree using upward strokes, akin to creating check marks. These strokes will represent the branches. Ensure they’re spaced and sized appropriately.
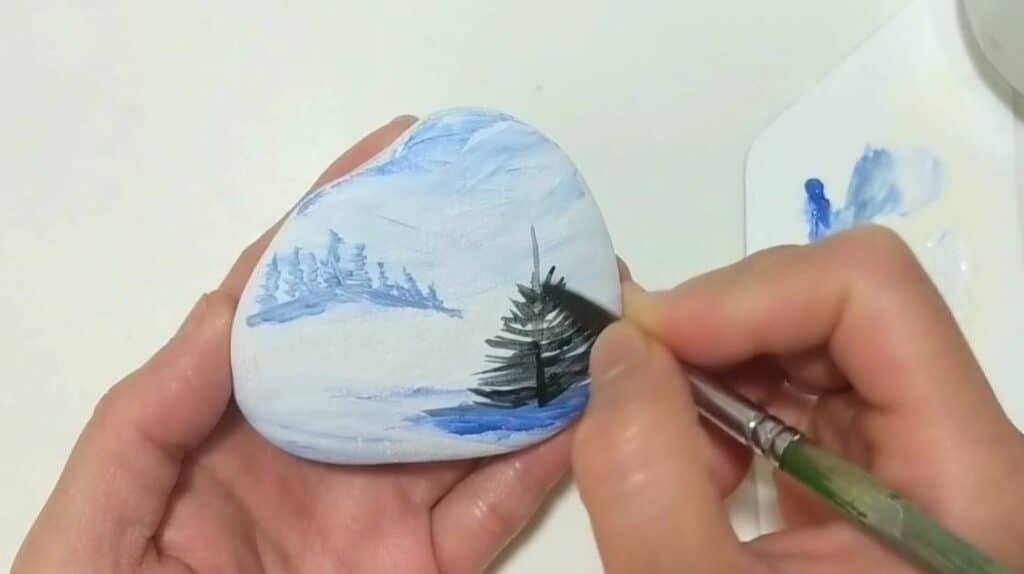
For the next layer of branches, employ a stronger concentration of black paint without dilution. This layer helps define the tree’s structure more prominently.
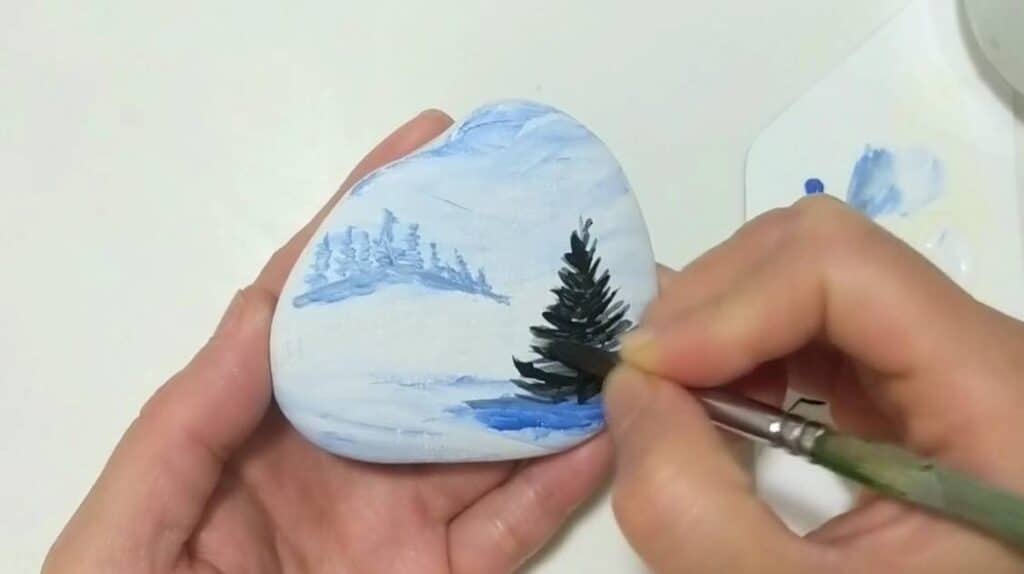
Next, create depth by incorporating a lighter mix of white and blue, applying gentle highlights to the branches. Remember to rinse and dry your brush in between layers for a clean finish.
Remember, the key is to employ a gentle touch and gradually build up the layers to achieve a lifelike appearance for your tree.
Rinse and wipe the brush dry. Let the paint dry.
Pro Tips (How to make fine details using a round brush )
- Use the tip of your brush for precision when adding fine lines an details
- If the tip is not pointy enough, reshape it by gently brushing it on the rag.
- Be mindful not to use too much water to maintain control over your paint.
- If your brush becomes overly saturated, blot it gently on a rag to regulate the moisture level.
- Apply very light strokes for delicate and detailed lines.
*Keep these tips in mind when working on the red cottage below.
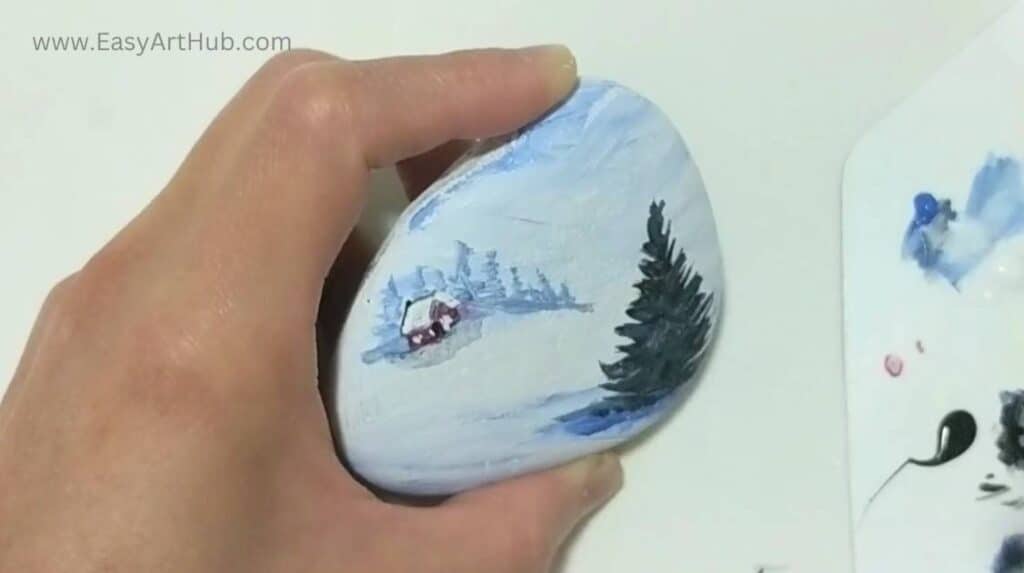
Step 4. Cozy Red Cottage
As you allow the Christmas tree to dry, shift your focus to the distant red house. Using a pencil or directly with your paintbrush, outline the house. By initially outlining with black paint, you establish the structure and prevent redoing the white layers later (which happened to me, as you may noticed in the video).
Next, paint the walls of the house with red paint and the roof with white paint to represent the snowy covering. Don’t forget to add a chimney to complete the picturesque house in the distance.
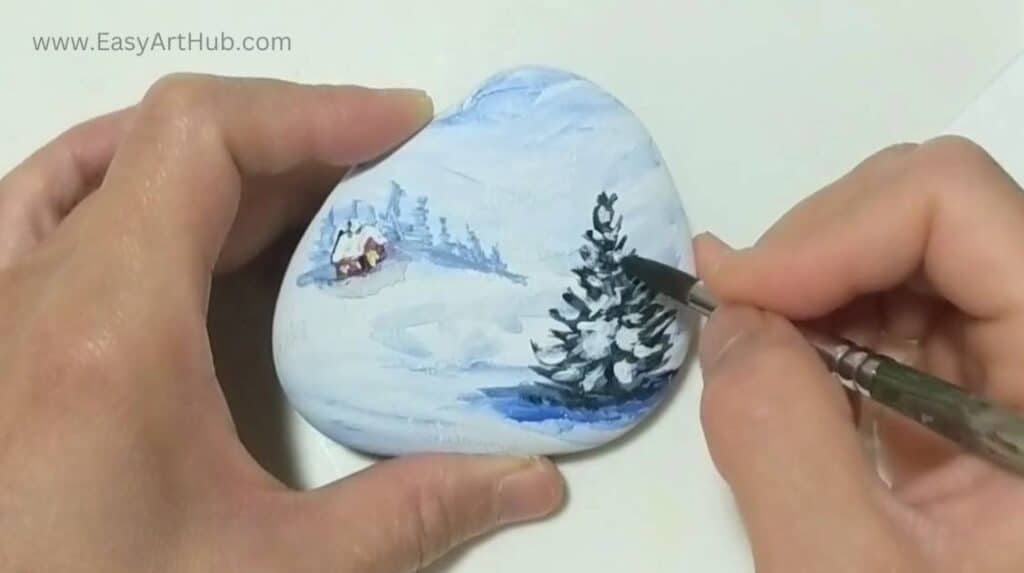
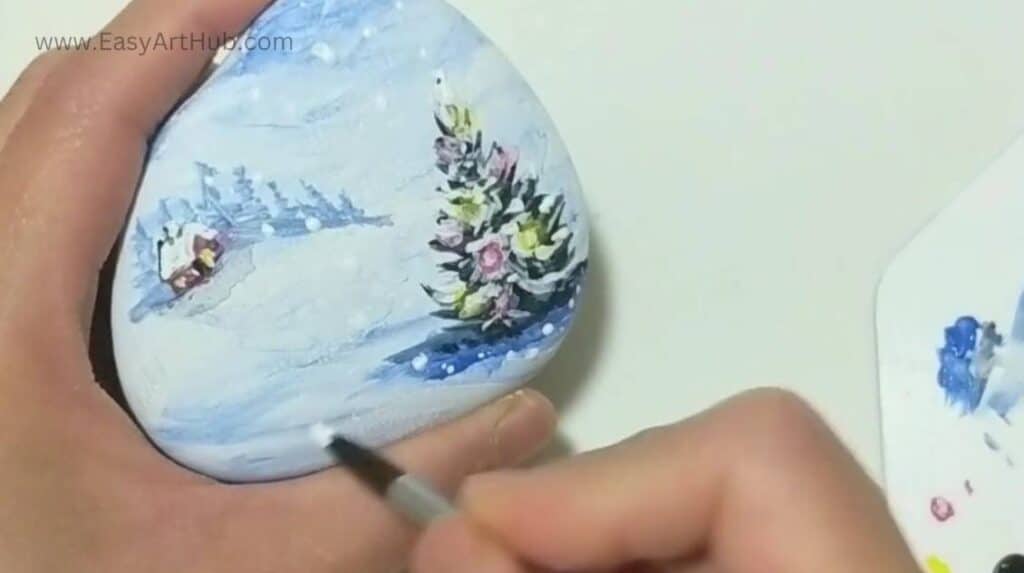
Step 5. Light Up A Snowy Christmas Tree
Returning to the Christmas tree, add the details. Use white paint to create snow patches along the branches. Place these patches where snow would naturally accumulate, particularly at the ends of the branches and scattered over the tree’s surface.
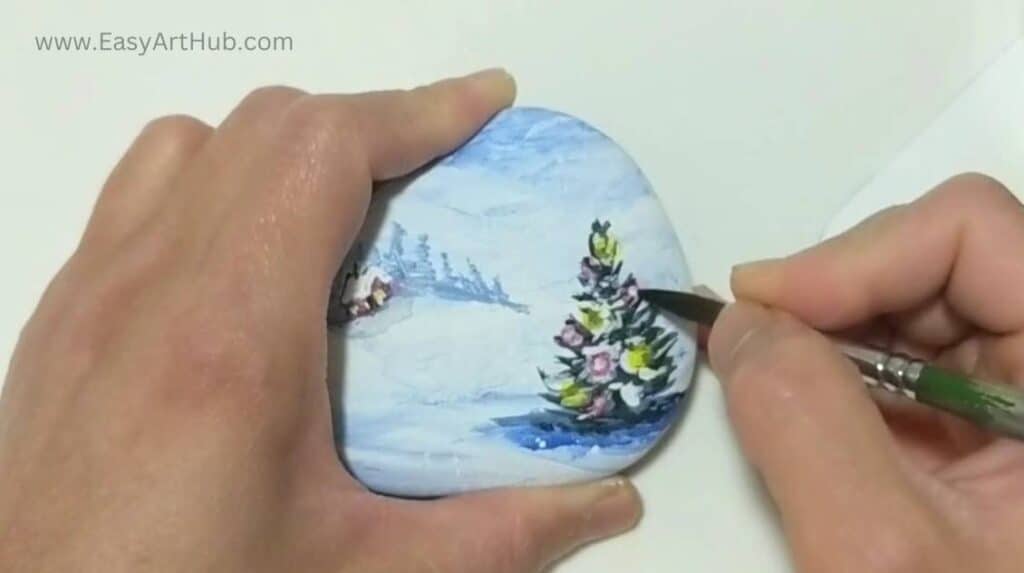
To accentuate the festive spirit, add Christmas lights. Use yellow paint slightly diluted with water to place glowing spots on the tree. Take this opportunity to incorporate some of the yellow glow onto the distant house for a harmonious, cozy ambiance.
Following this, use red paint to paint Christmas lights on the tree. Apply white dots in the center of each red light to give them a glowing effect, adding to the overall warmth of the scene.
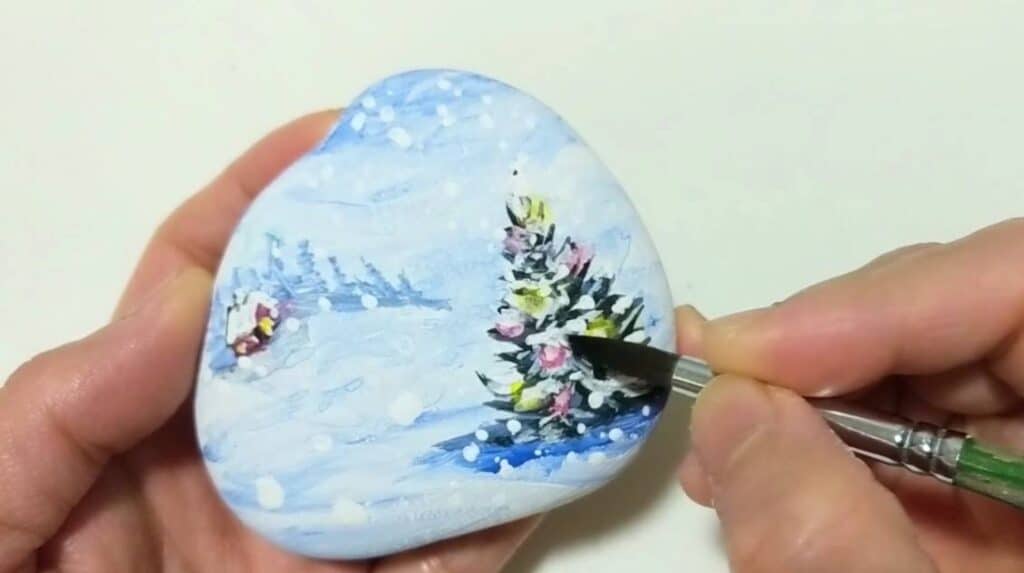
Step 6. Winter Flurries
To depict falling snow, choose your preferred method – dots or splatter. If opting for dots, use white paint and create small, gentle dots across the scene to illustrate falling snowflakes. For a more adventurous approach, splatter paint for a dynamic and snow-filled effect,
If opting for splattering, gently dip your brush into white paint and tap it against another brush or stick to create a splatter effect. Ensure to protect your workspace from stray paint, unless a speckled effect is desired. This is what I did on my Northern Lights tutorial.
Step 7. Finishing Touches
For added flair, consider giving the ground some texture to lend depth and intrigue. You might mix up a blend of white, blue, black, and water to create tiny bumps and irregularities, simulating the look of little snow mounds. If it fits your vision, extending the distant pine tree grove can deepen the scene.

Back to the Christmas tree, think about sprinkling some extra snow or highlights to boost the overall impact. These extra touches bring vibrancy to your artwork, making sure every element fits together seamlessly.
Downloadable Painting Guide

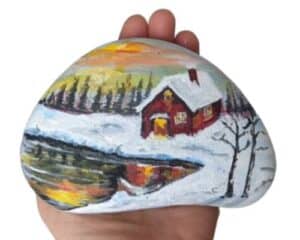
Wrap up your masterpiece and take a moment to soak in the magic you’ve made. The cozy red house, snug in its snowy setting, along with the beautifully decorated Christmas tree, paints a picture-perfect scene of the season. Feel the creative buzz and keep diving into the endless painting adventures. Here’s to a jolly and art-filled holiday season!

