Hello, pebble painters! Ready for another spooktacular Halloween art!
In this tutorial, we will be painting an eerie scene, depicting a tree reaching out for the captivating full moon. As always, we will be using our good ol brush, acrylic paints and rocks.
I’ll be your guide, no matter your skill level. This tutorial includes step-by-step instructions and visuals. Prefer video? Need detailed instructions? I’ve got you covered! Grab your art supplies, let’s create lunar magic!”
Materials You’ll Need:
Before we jump in, make sure you have your tools ready. We’re using acrylics, and things can move fast here – limited palette, direct blending. Let’s roll!
~This post contains affiliate links.
- Primed rock (apply a layer of white acrylic paint or gesso)
- Pencil or watercolor pencil *optional(use if you prefer to sketch first)
- Acrylic paints (blue, white, red, yellow and black)
- Medium round brush
- Foam brush or sponge(a strip of dish sponge or makeup sponge)
- Jar of water
- Rag or paper towel
- coin or compass (to draw a circle)
- Blow dryer *optional (use if you are in a hurry)
- Clear Coat
Notes:
- While these links can be helpful when you’re faced with too many options, don’t fret over the details. Simply make use of whatever you already have or can readily find.
- If you’re totally new to rock painting, you may want to check out my Rock Painting Beginners Guide for material tips and the basics to get started.
Halloween Moon Rock Painting: Full Spooky Video Tutorial
Here’s the full video tutorial. If you prefer step-by-step instructions, they’re below with pictures.
Halloween Moonlit Tree Rock Painting: Video Tutorial
Step-by-Step Halloween Full Moon Rock Painting
If you’re up for a detailed look at each step and a few cool bonus tips, just keep reading. We’ve got the step-by-step guide here.
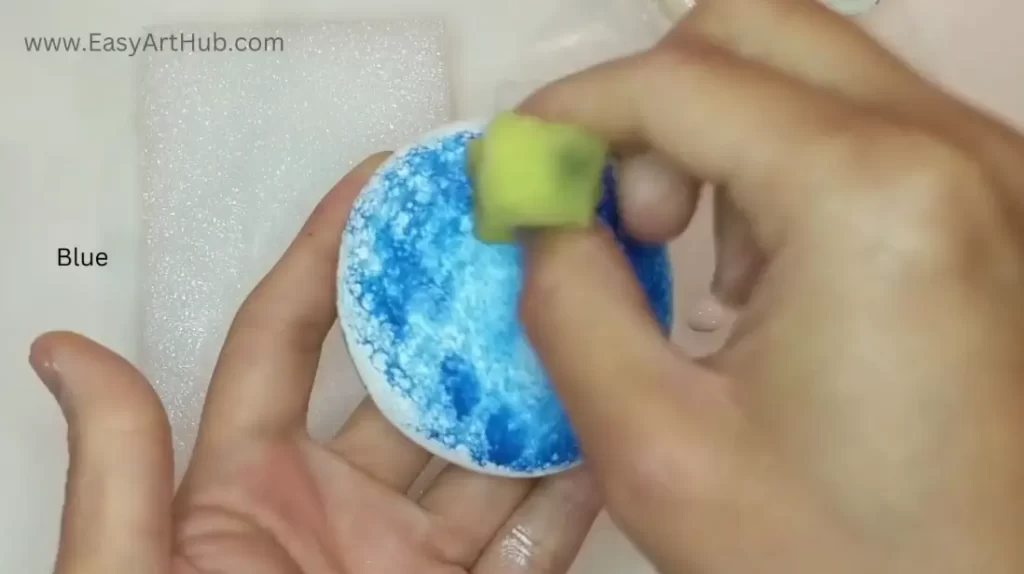
1. Apply the Background
Start by adding blue paint to the rock’s sides, then gently blend it towards the center using a sponge.
Next, drop some white paint in the center and blend it sporadically with the blue.
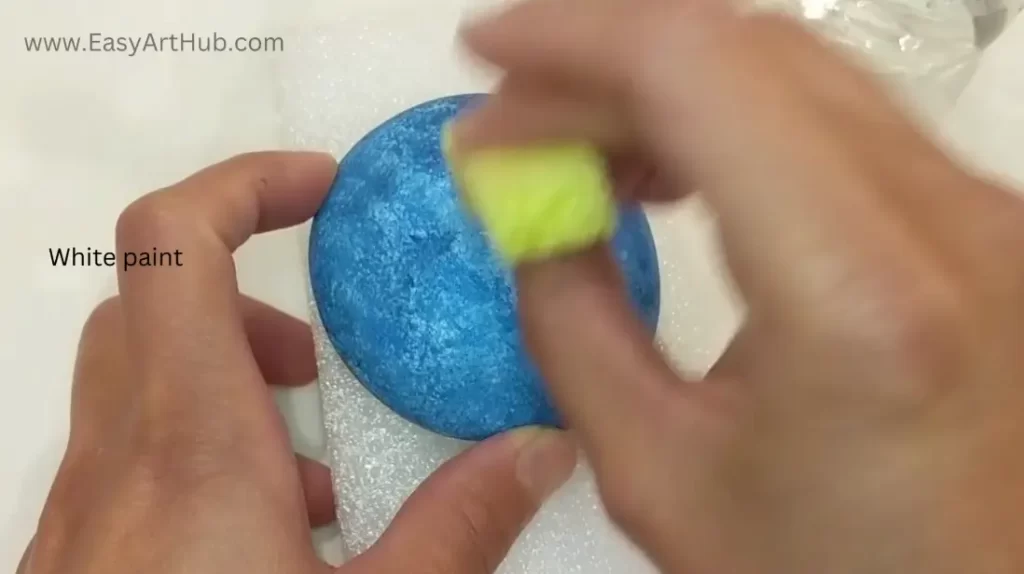
Rinse and wash the brush.
Allow the background to dry.
2. Draw and Paint a Circle
Now, let’s form the full moon.
You can choose to freehand the moon, or use a small coin or compass to sketch a circle.
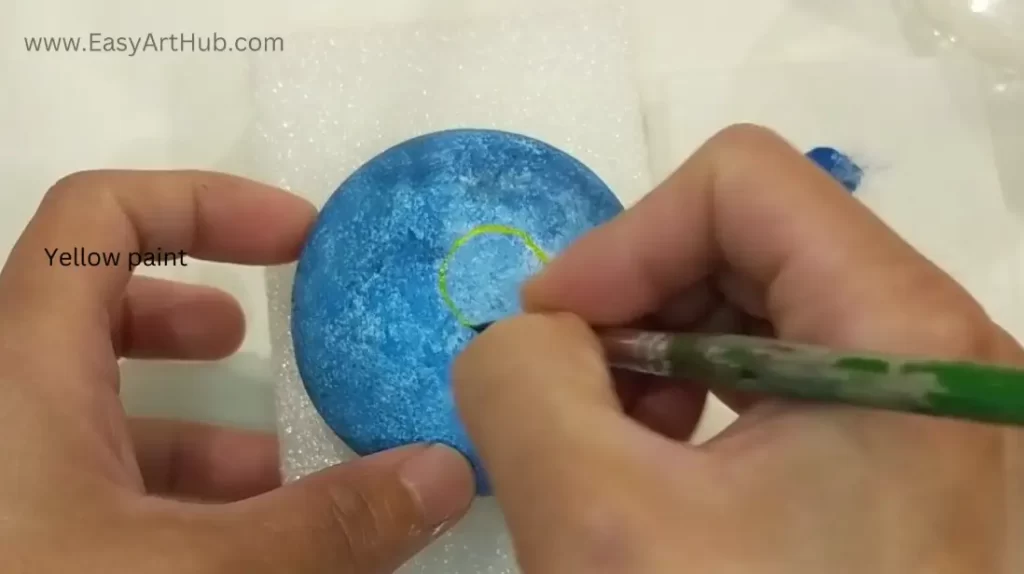
Alternatively, directly paint it like I did in this tutorial.
I use the tip of my brush and yellow paint to gently draw the circle.
TIPS For Painting Fine Lines:
- To achieve finer lines with a round brush, first wet the brush and shape the tip into a point by gently wiping it on a rag.
- Dip the brush tip in paint, then in water to thin the paint a bit.
- Before painting, make a few thin brush strokes on a paper or rag to remove excess water and paint.
- It may take some practice to create fine lines with a brush, so take your time.
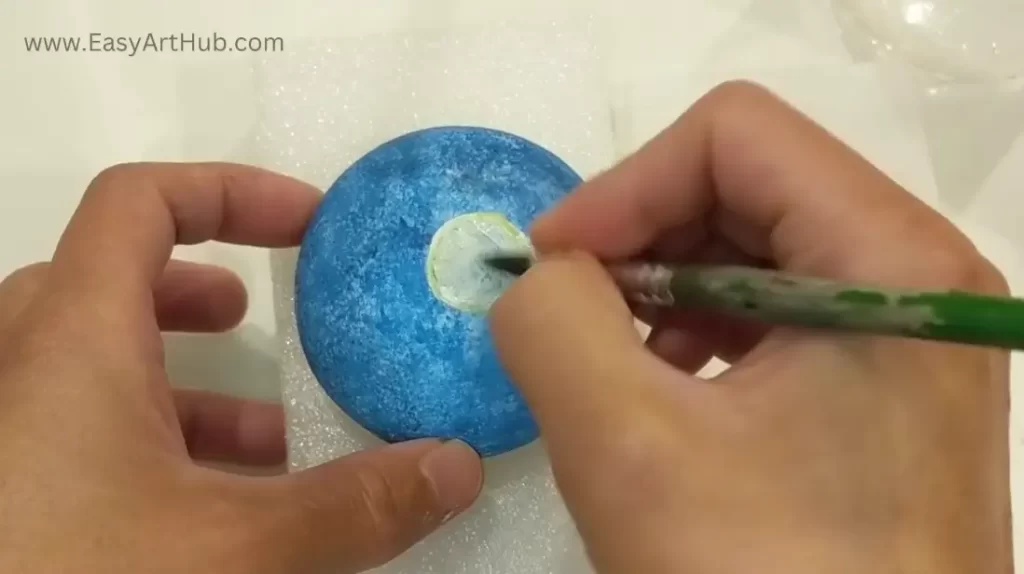
Fill the circle with white paint; this base layer will make the moon’s colors pop.
Rinse and dry the brush.
Allow the paint to dry before moving on. You can speed up drying with a blow dryer, but air drying works just as well.
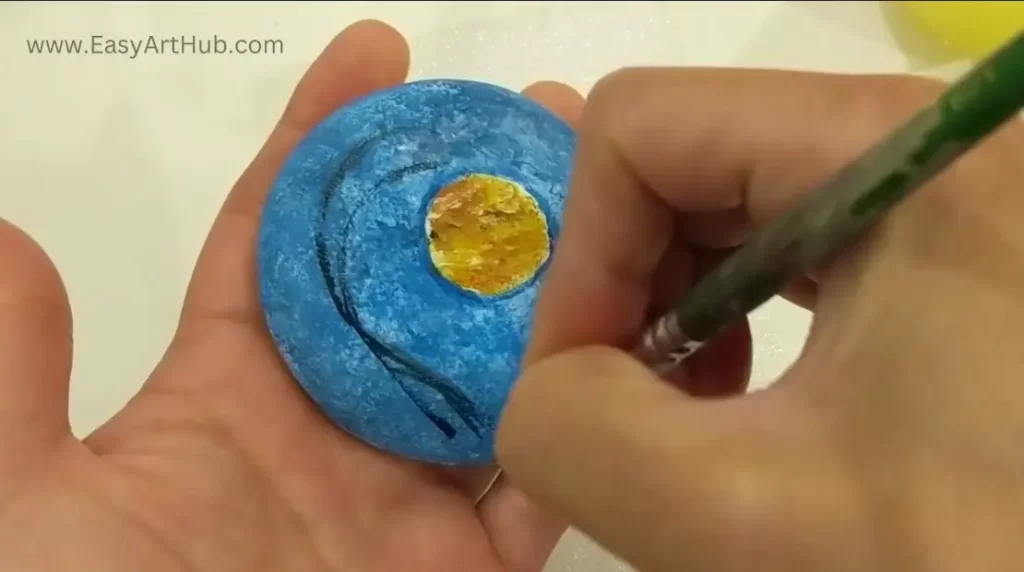
3. Paint a Full Moon
Time to transform that circle into a full moon. We’ll layer and blend red, yellow, black, and white to make it come alive. Try to work swiftly to blend the paint layers while they’re still wet on the rock.
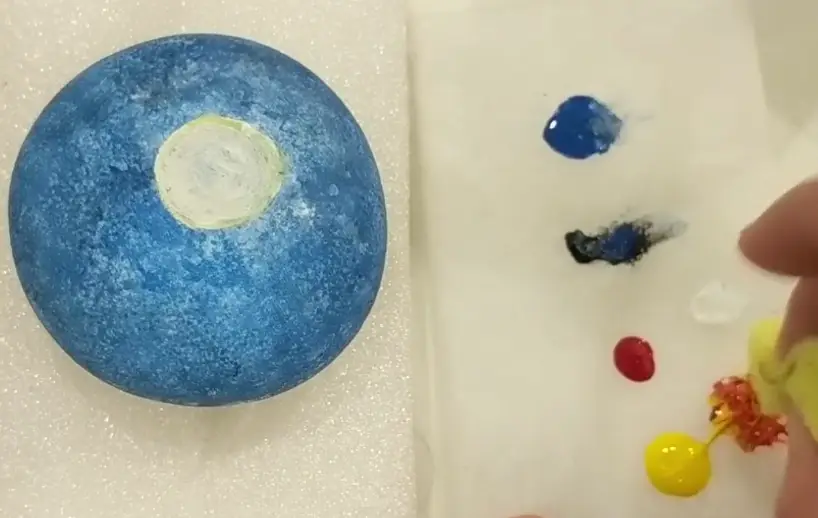
On your palette, mix red and yellow to create orange. Dab 2 or 3 spots of this orange onto the moon. You can use a sponge or a brush, whichever you prefer.
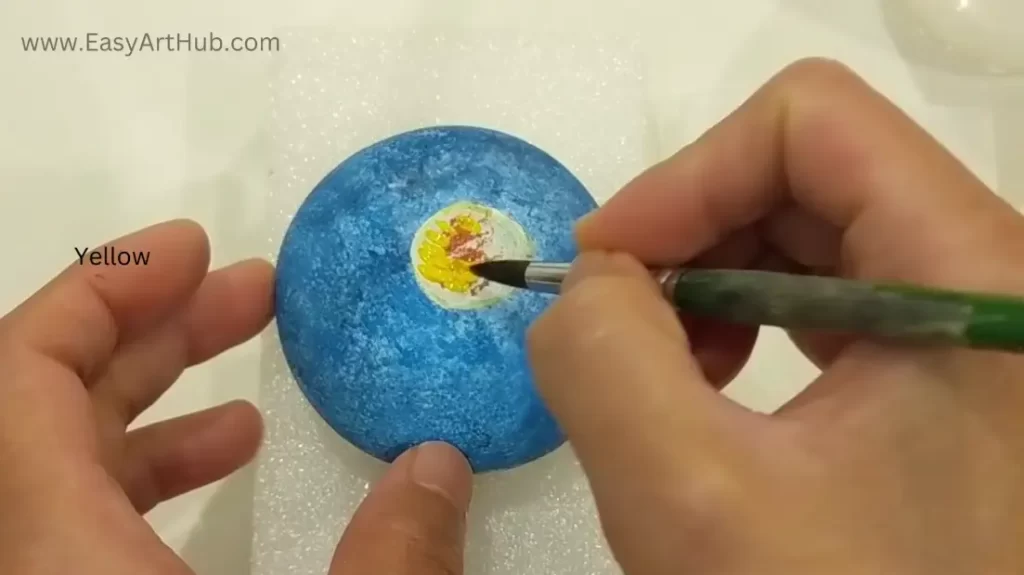
While the orange paint is still wet, add a few dabs of yellow to the moon.
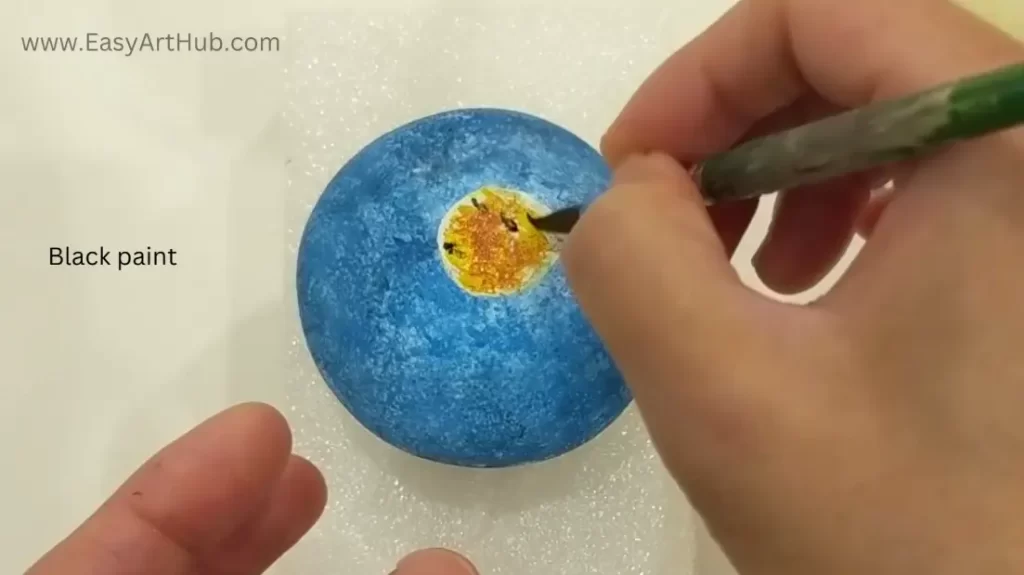
To create some brown spots on the moon, apply a few dots of black paint. Then, use the sponge to partially blend them with the other paint on the moon.
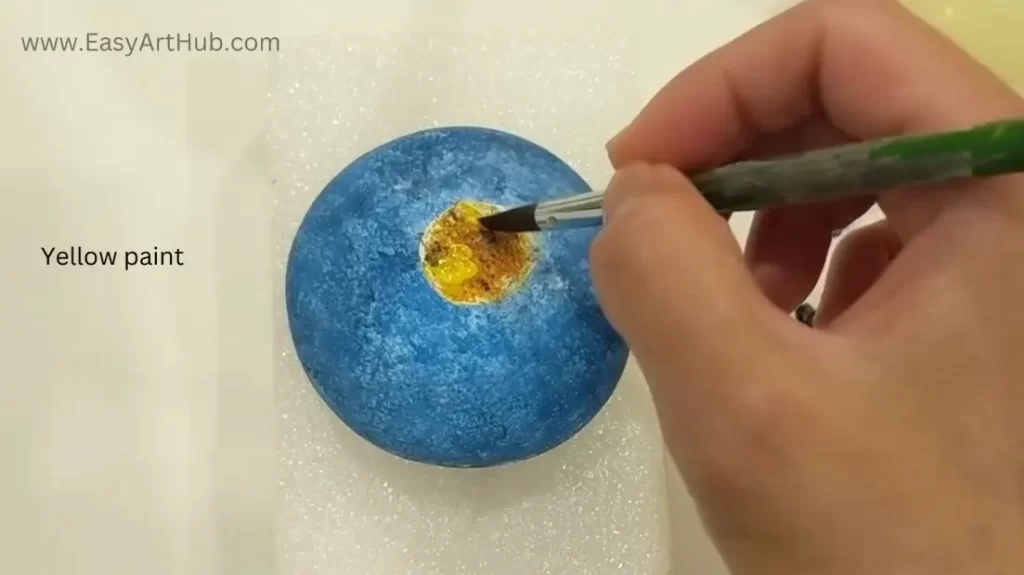
Add few dabs of yellow and slightly blend to complete the moon.
Rinse and wipe the brush.
Let the paint dry.
Note: If you mixed the colors too much, you may end up with one solid color. You can apply additional layers of color and blend them carefully, to bring back some texture and interest.
4. Clean the Edges of the Moon
To clean up any extra paint around the moon, grab some blue paint. Make sure the previous layers of paint have dried before moving on.
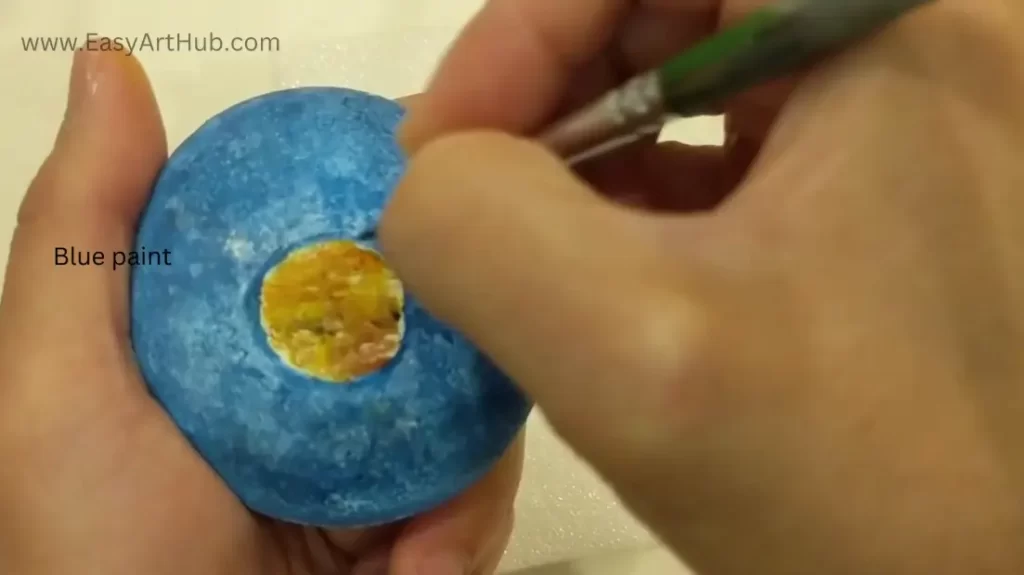
Carefully paint a circle around the moon using thinned-out blue paint.
If you’re finding this step tricky, refer back to the TIPS in Step 2.
Rinse and wipe the brush.
Let the paint dry.
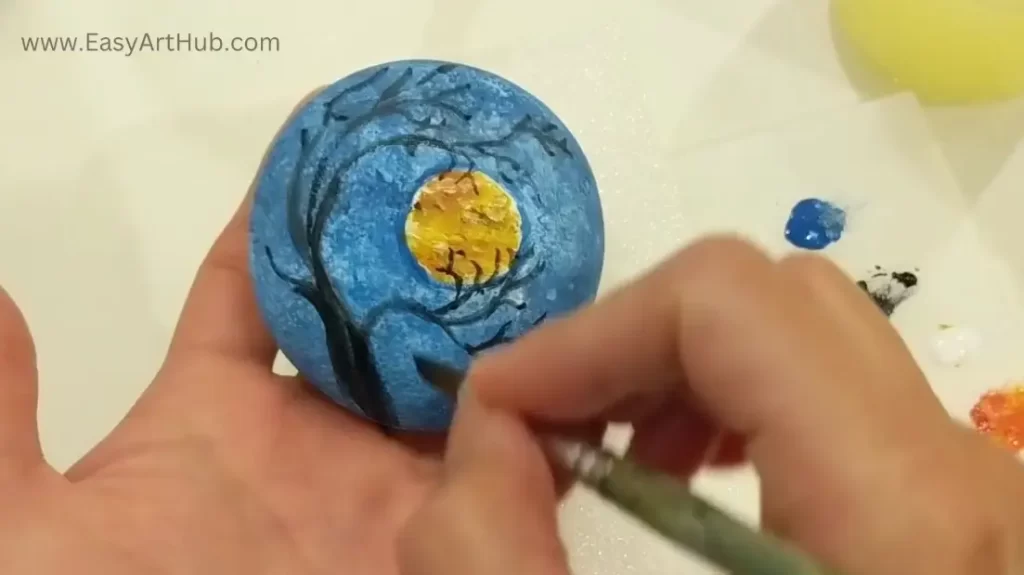
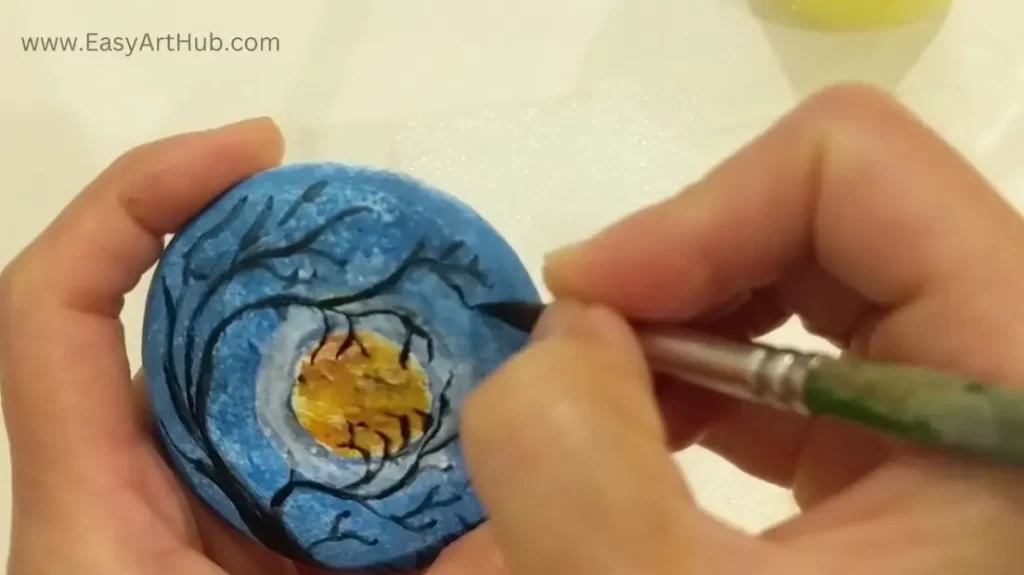
5. Bring the Scary Tree to Life
Now comes the fun part! It’s time to introduce the spooky tree. To give it a creepy twist, let’s make its branches look like fingers reaching out for the full moon. You’ll be using black paint to create fine lines for the tiny branches.
Again, check out the TIPS in Step 2 for some tricks on how to paint those fine lines.
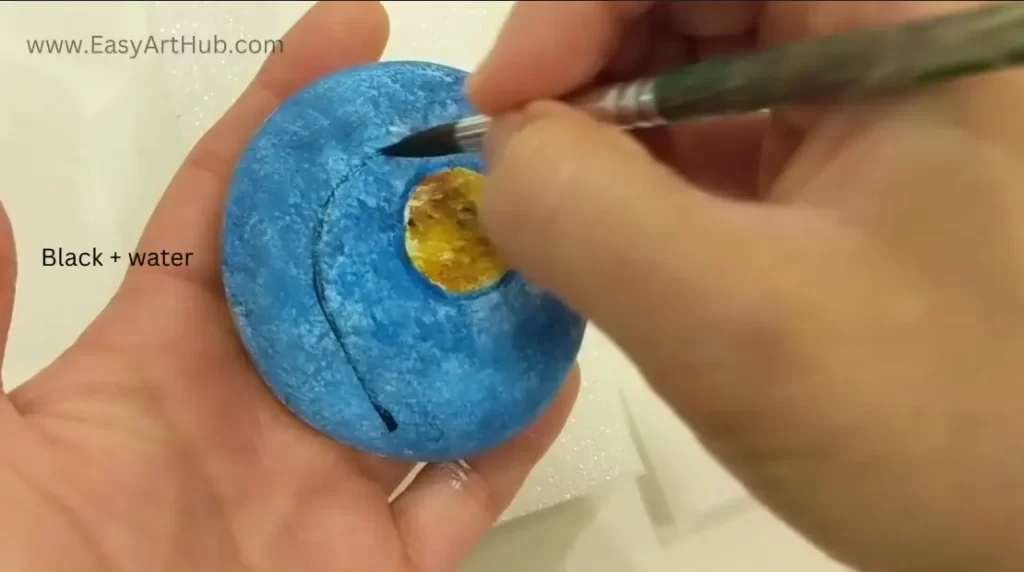
Use black paint to draw an inverted “J” next to the moon.
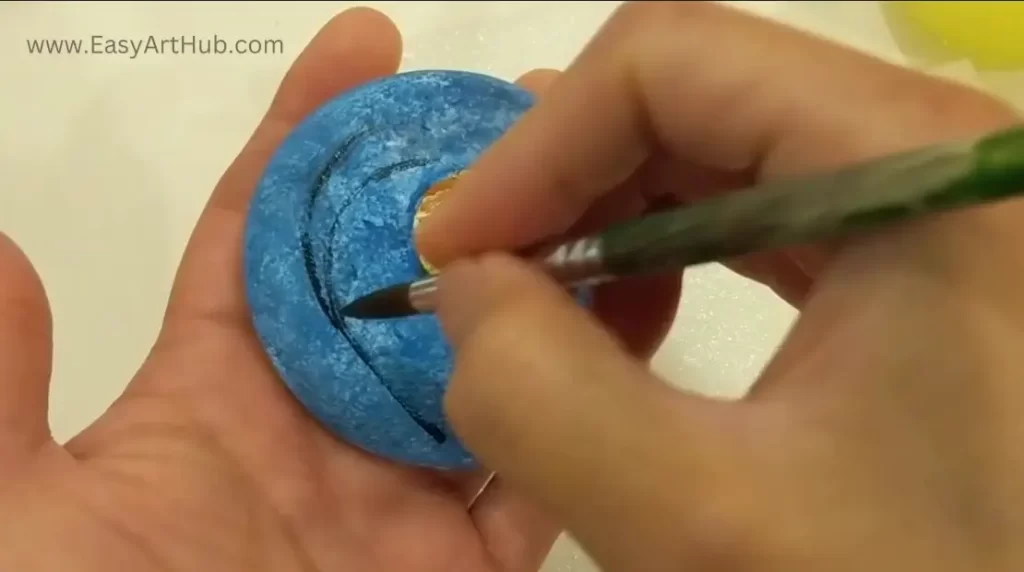
Add a curved line on top for another branch.
Draw another curved line for the trunk, shaping it like a half-heart. Paint the gap to make the trunk thicker.
To add the thin branches, ensure your brush retains its pointed tip. If you have too much paint on the brush, feel free to remove the excess or rinse it and start again.
Again, if you’re finding adding fine lines tricky, refer back to the TIPS in Step 2.
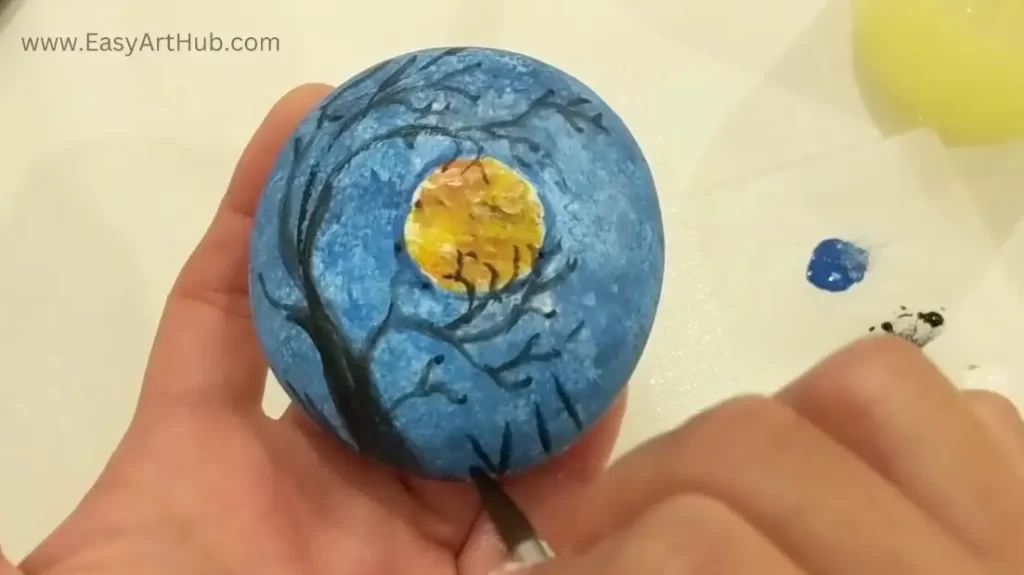
You can add some grass if you like.
Rinse and wipe the brush dry.
Let the paint dry.
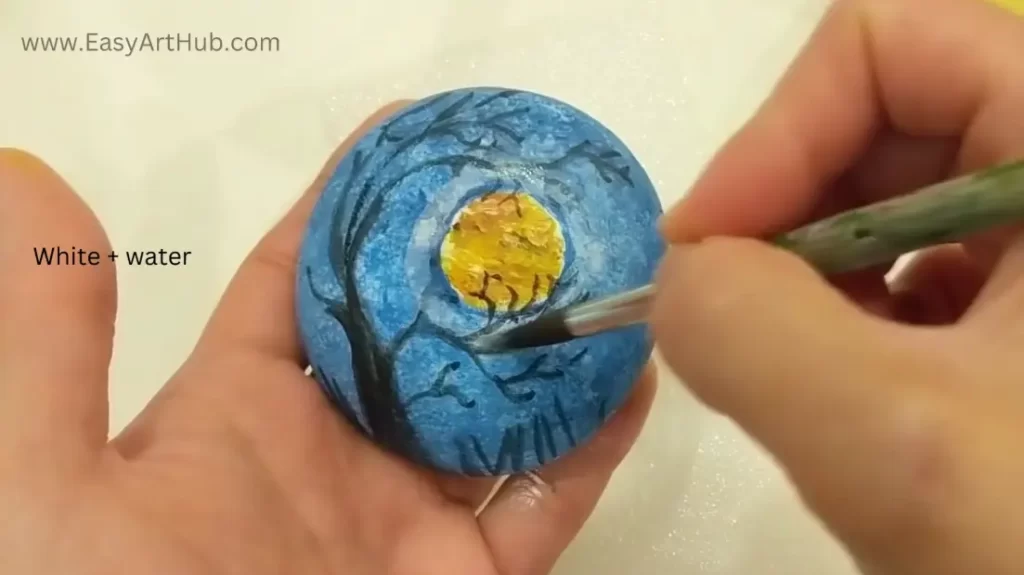
6. Craft the Moon’s Halo
Take some white paint and mix it with water to create a translucent halo around the moon.
Rinse and dry your brush.
Allow the paint to dry.
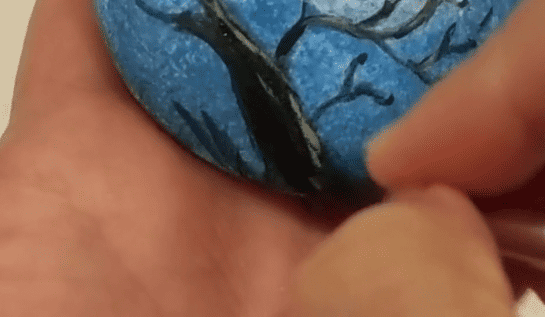
7. Enhance the Branches
To create the illusion that the tree is closer to us than the moon, it needs richer, more saturated colors. As we previously used thinned-out black paint for the branches, and some were covered by the halo, we should add more black pigment to make them darker.
Make sure the paint is completely dry before moving on to this step, especially the white paint. Carefully apply another layer of black paint to the trunk and all branches of the tree.
Rinse and wipe the brush dry.
Let the paint dry.
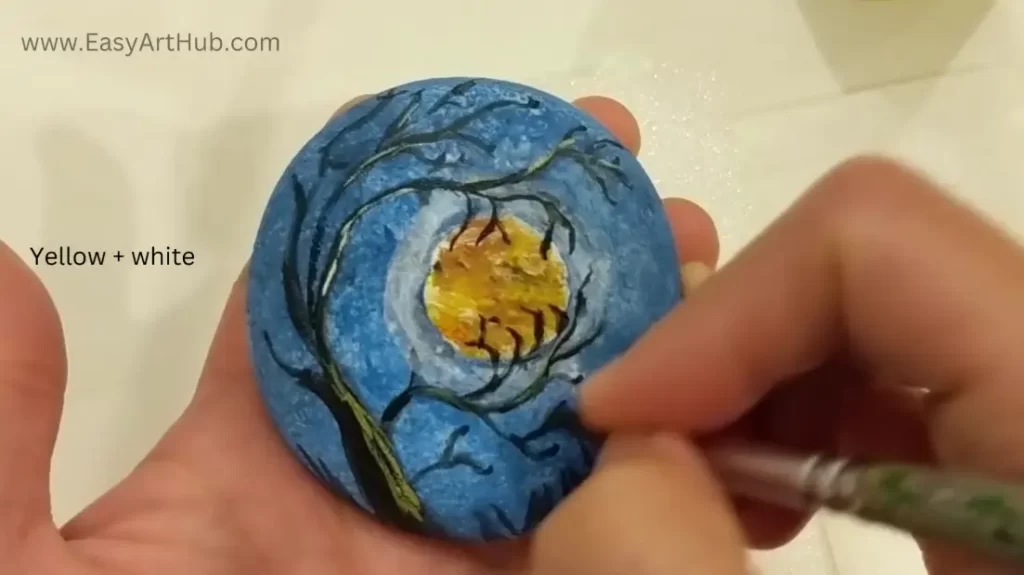
8. Add the Highlights
Now, let’s give the tree a touch of moonlit glow by adding highlights.
Grab some white and yellow paint, and add a bit of water to the mix. Picture the moon’s light shining down and paint thin lines on the trunk and branches in the direction of the moon.
If you happen to add too many highlights, don’t worry. You can easily cover them up with black paint, just like I did in the video.
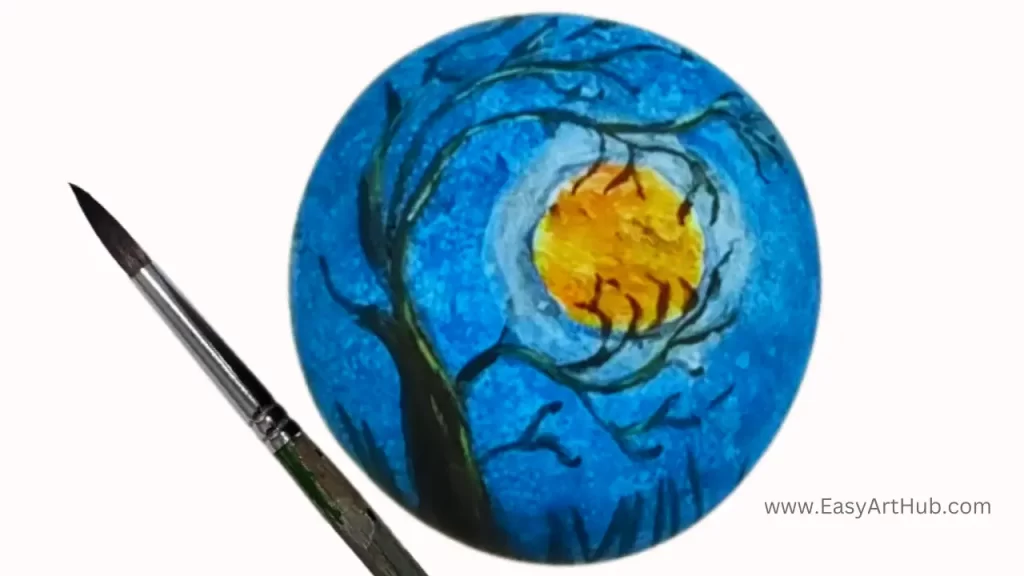
And there you have it! Another Halloween stone masterpiece complete. You can admire you creation at this point and proudly display your rock indoors. Or, if you’d like to add some extra protection for your creation, proceed to the next step.
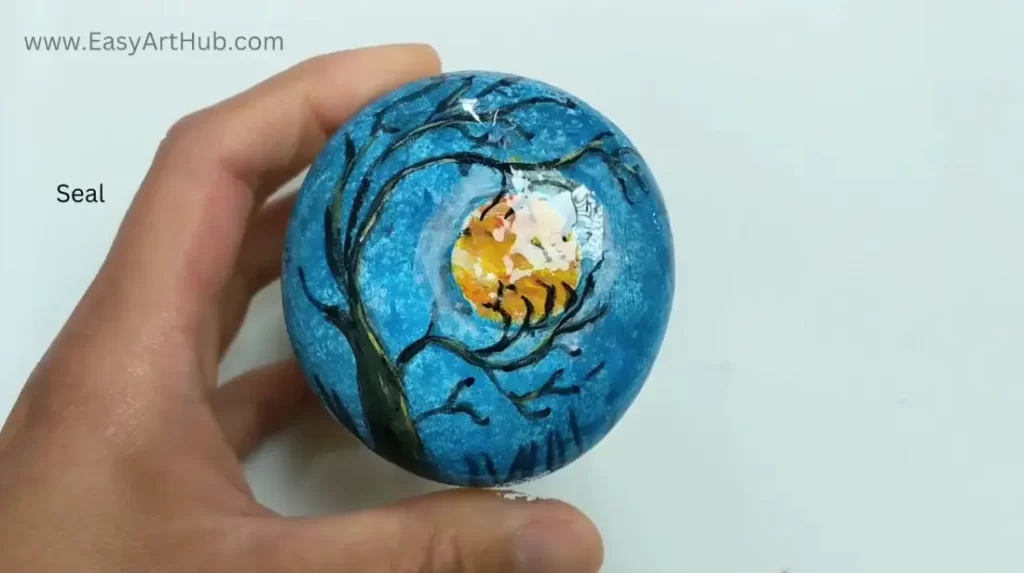
9. Seal the Rock
If you intend to showcase your rock outdoors or simply want to extend its lifespan, sealing it is a great idea. You can use clear varnish or resin for this purpose. Just ensure it’s labeled as “non-yellowing” if you want to avoid your rock taking on a yellowish tint.
More Halloween Rock Painting Ideas
If you’re looking for more Halloween rock painting inspiration, be sure to explore my Scared Cat and Spooky Pumpkin tutorials. These painting ideas are sure to keep the Halloween spirit alive on your rocks!